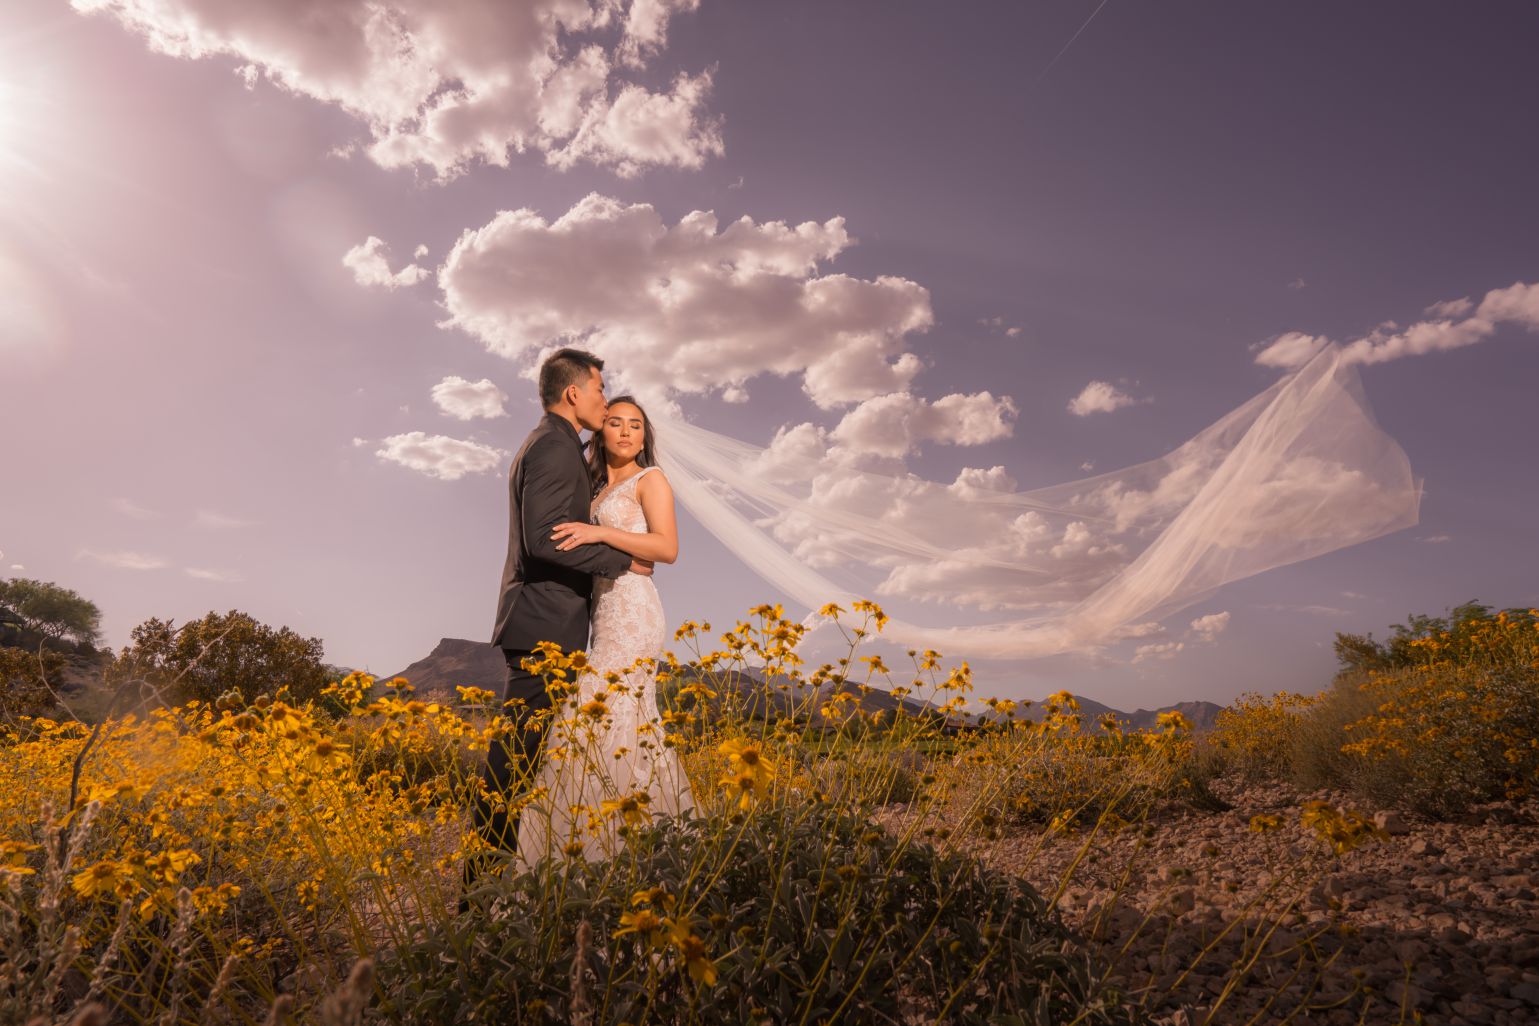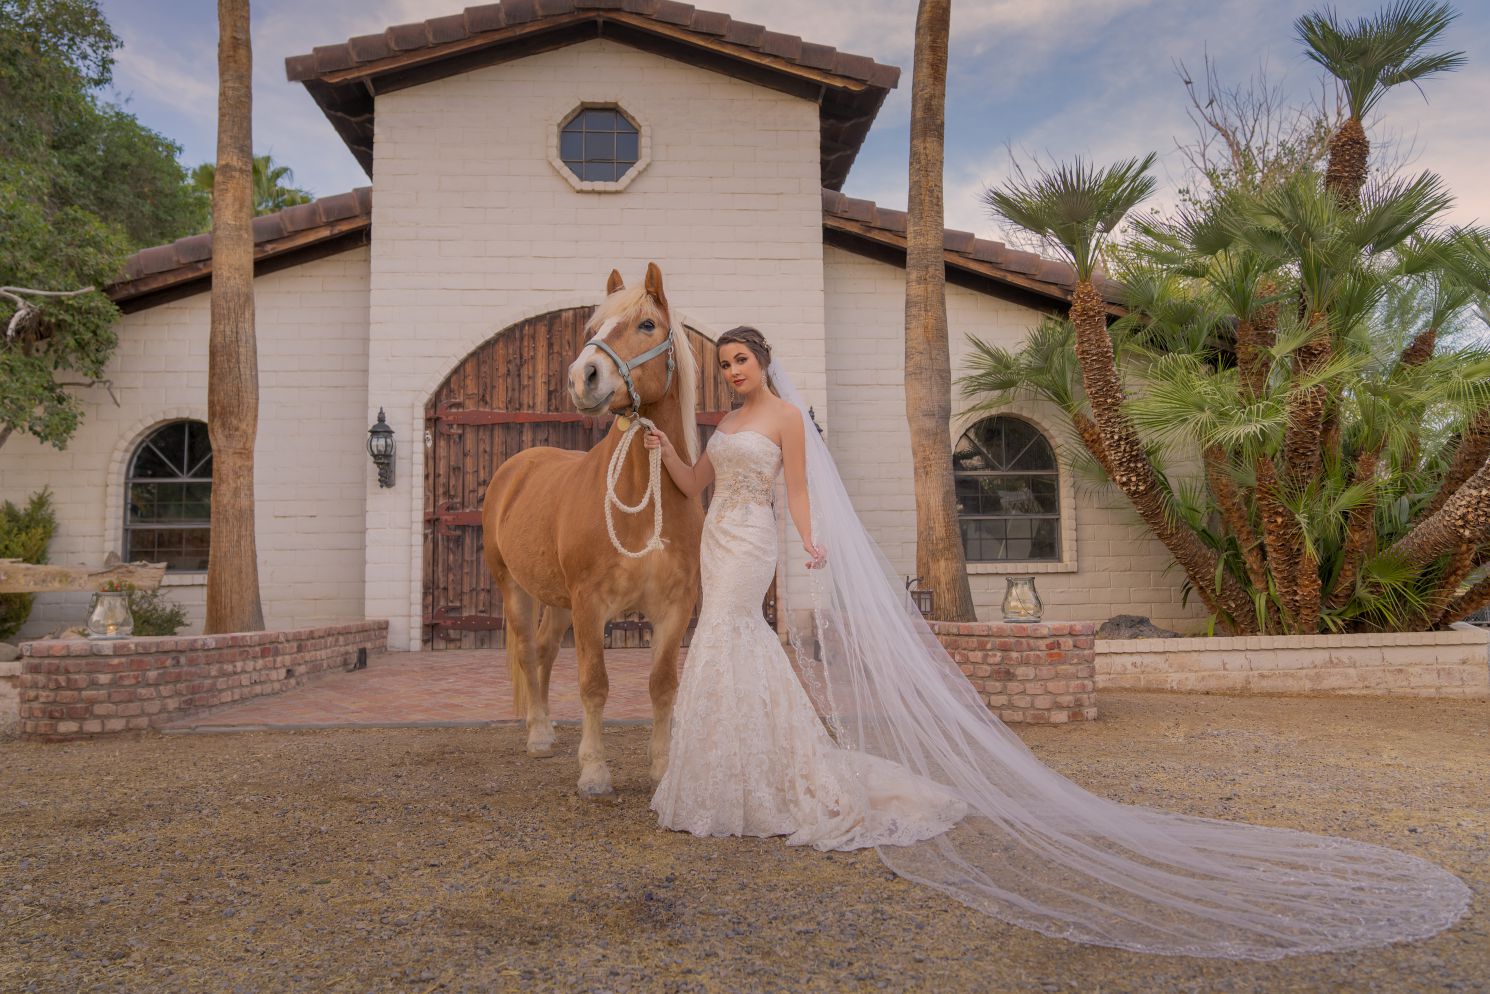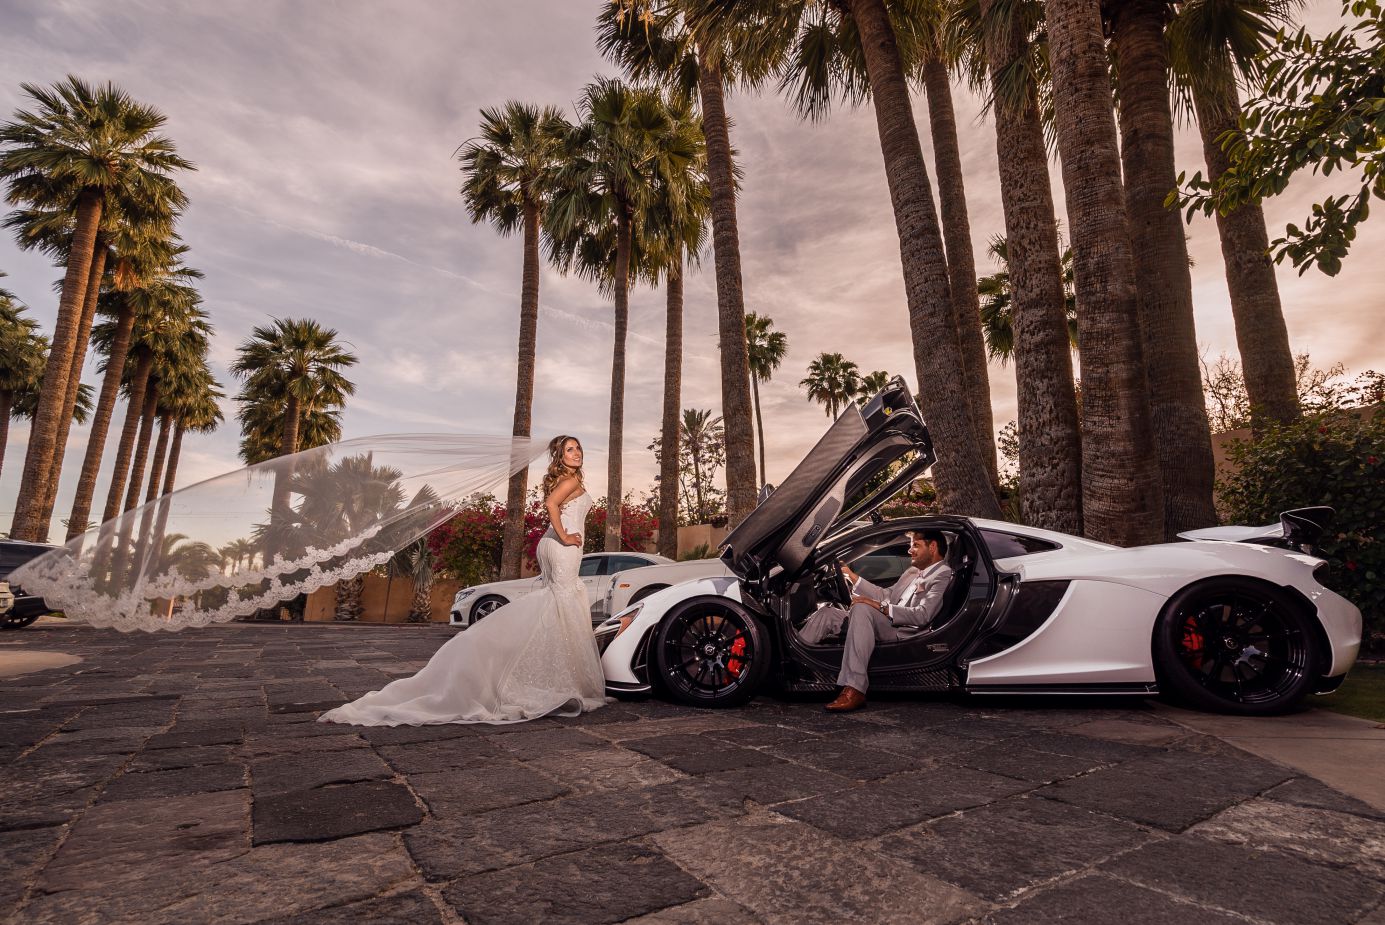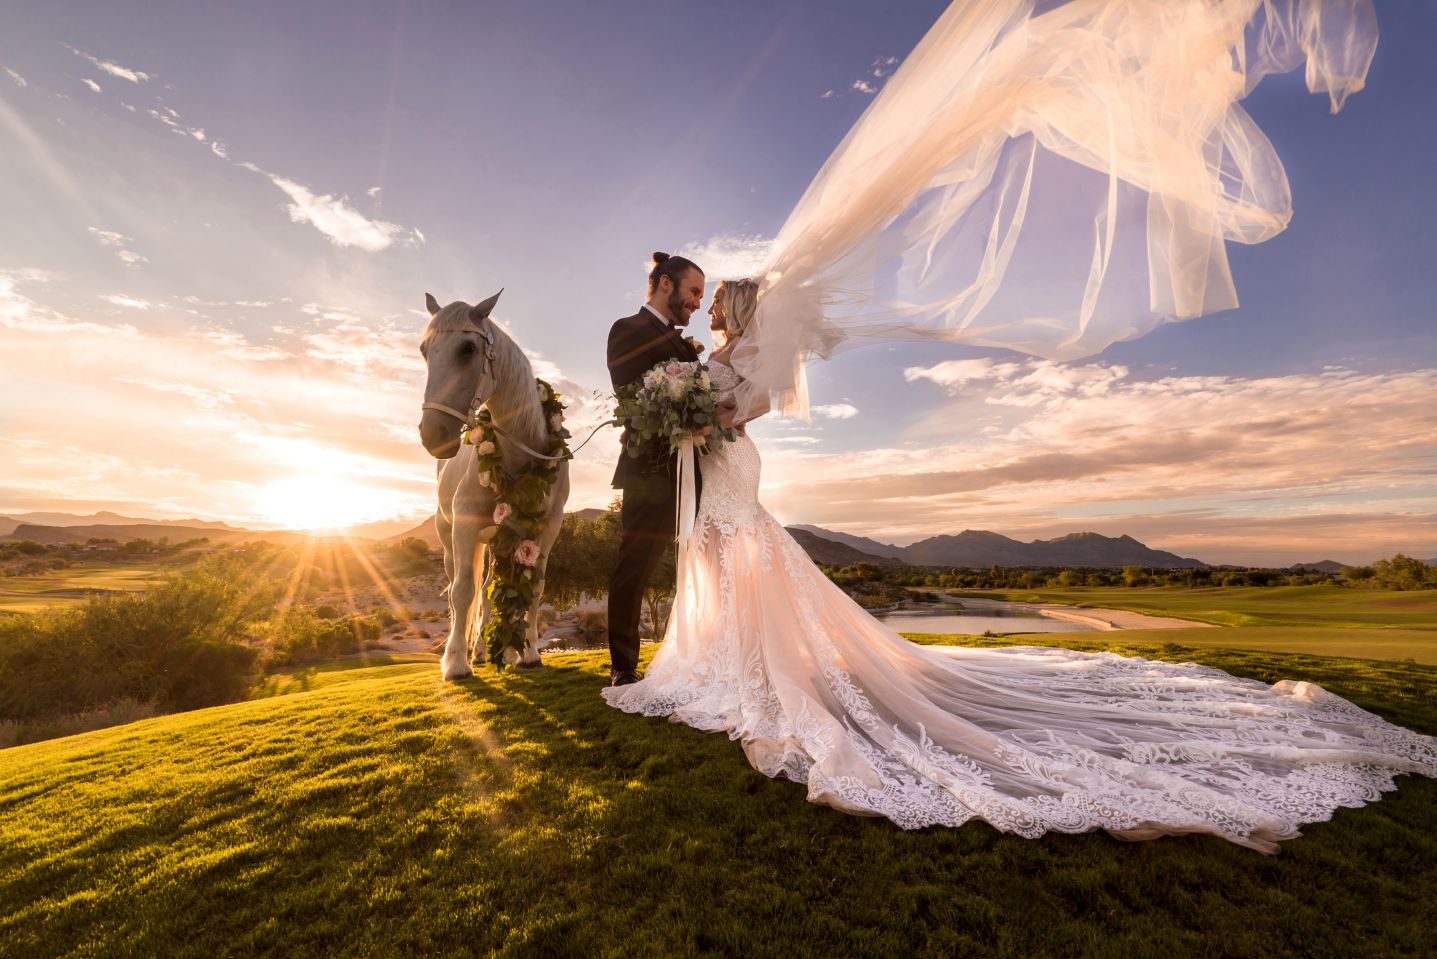
50 Tips For Better Wedding Photography In Florida
Are you a photographer who wants to have better wedding photos? If so, check out our 50 tips for better wedding photography today.
Tip #1: Prepare Your Equipment Thoroughly
Wedding photography requires careful preparation. We always prepare for the session the day before the ceremony. My preparation ritual includes:
– Going over my plan for the photoshoot.
– Charging all batteries used in the equipment.
– Installing fully charged batteries in cameras and other equipment as necessary.
– Double-checking and preparing memory cards.
– Inspecting and cleaning camera lenses.
– Packing my equipment in the camera bag.
This is just my list.
Following a preparatory checklist tailored to you before the wedding will ensure that you don’t forget anything and that all your ducks are in a row.
Tip #2: Make A Detailed Action Plan For The Day Of
Once you have prepared your equipment, the next step is to make a detailed plan of your activities for the day of the wedding.
Having a clear idea of what you are going to do is important since weddings are such busy events.
Prioritizing Family and Close Friends
I always include a list of the people who are closest to the newlyweds so that I 100 percent remember to get photos of them.
Sometimes weddings will have hundreds of people, so it’s essential to have some way to prioritize who to focus on.
Keep Track of Essential Details
I also write down the location of the wedding, the names of the newlyweds, phone numbers, and any feedback that I’ve gotten from the couple.
Additionally, I make sure to print out plans for myself and my manager and print an extra plan for backup. The first one gets packed in my camera bag right away.
Email Backup
It’s also not a bad idea to send a version of your plan to your email. In fact, I strongly suggest it.
You’ll be able to refer to it easily and print an extra copy if you happen to lose your original printed version.
In my experience, making a detailed plan for the day of the wedding is one of the easiest and most effective ways to organize your time.
Tip #3: Prepare A Wedding’s Day Emergency Kit
The best photographers do way more than just take photos. They enhance your experience by providing the best possible service.
Spilled drinks, food stains, lost hairpins, etc., are all to be expected, especially during the reception, which is why it’s a good idea to prepare an “emergency kit.”
My Kit Includes:
– Scissors.
– Threads of different colors, a few needles, and pins.
– Lip gloss.
– Band-aids.
– Hairpins.
– Boutonnieres with pins.
– Paper towels. I use them to dry bouquets – neither you nor your clients want the wedding outfits to get spotted by water droplets.
– Feminine hygiene products.
– Stain removers, cotton swabs, and sponges.
Tip #4: Choose Comfortable Clothes and Shoes
Wedding photography makes serious demands on the photographer, which is why good shoes are SUPER helpful.
There’s nothing worse for a photographer than being stuck in uncomfortable shoes for 8 to 10 hours.
I experienced this firsthand, and after suffering through a couple of weddings, I decided that I would only wear shoes I could work effectively in.
Tip #5: Mitigate Neck and Back Pain
Now, we get it. Wedding photography might not seem like the most…strenuous of activities.
But:
If you’ve shot a wedding at least once in your life, you know that taking pictures all day can very easily lead to neck and back pain.
While I certainly don’t have a 100% working cure that can magically remove all neck and back pain, I would like to share a few tips that help me reduce them.
Use A Wheelie Bag
Being able to wheel around your camera bag, as opposed to wearing a backpack (a LOT of camera bags are modified backpacks), makes a huge difference.
There are of course advantages to wearing a camera bag on your back, such as:
- Security. You don’t have to worry nearly as much about someone swiping your stuff when it’s on you.
- Speed. Wearing your camera bag allows you to maneuver quickly through the wedding party.
These are certainly excellent advantages, but if they come at the cost of your back, you can always just leave your wheelie bag in a safe place and return to it whenever you need to retrieve something.
Unloading Straps
Using unloading straps to carry your camera is another effective way to reduce strain on your neck and shoulders.
Tip #6: Don’t Forget About Snacks and Water
No photographer wants to work on an empty stomach, and being thirsty isn’t exactly ideal either when you’re in the middle of doing a wedding.
So, don’t forget to prepare some snacks and bring some water bottles with you.
Tip #7: Arranging A Meal With Your Client
If your contract does not have a clause that includes a full meal, it’s worth adding.
The key word here is “full.”
When I first started shooting weddings, I thought a small sandwich or snack would be enough for me.
I realized very quickly that not getting enough to eat was the wrong approach.
Clients Understand The Need For Reasonable Accommodations
Most clients are more than willing to provide a meal as part of their wedding package, and for the few who find it odd, I kindly remind them that working in wedding photography means:
Standing on your feet for 6-8 hours, walking with camera equipment, and engaging with wedding guests.
To be honest, clients are reasonable, and nearly everyone understands when you explain how much of a workout taking photos for a wedding and wedding reception is.
By the way:
Don’t forget to also discuss a time when you can eat.
This is very important – you should be able to eat at a reasonable pace while also keeping up with your job.
Tip #8: Utilizing An Open Aperture At Times
Taking photos with a fully open aperture allows you to achieve a shallow depth of field, which when used in the right way and in the right setting, makes for engaging, focused, and personal photos.
Be careful to keep an eye on who or what is in focus, as the background will be blurry.
Tip #9: Try Using Slow Sync Mode For Your Wedding Photography
Slow sync mode is useful if you are taking wedding or reception photos at night.
When using the flash, set your shutter speed from 1/15th to 1/30th of a second.
This will allow you to use ambient light as a fill-in.
Tip #10: Pay Extra Attention To The Bride
Want to please the bride? Pay extra attention to her and do everything you can to enhance her experience.
While she’ll certainly be too busy to engage with you directly non-stop, you want to be the fly on the wall that is always looking for the perfect moments to highlight for her.
Be The Subtle Coordinator
Your job as the photographer is also to politely and naturally coordinate the couple, their family, and friends in a dance of sorts, all in order to create the perfect experience.
Remember that people are going to be talking and laughing and even wandering off to engage with other people, grab food and drinks, and so on.
Being able to rally everyone’s attention for photos takes practice and the ability to professionally direct a situation.
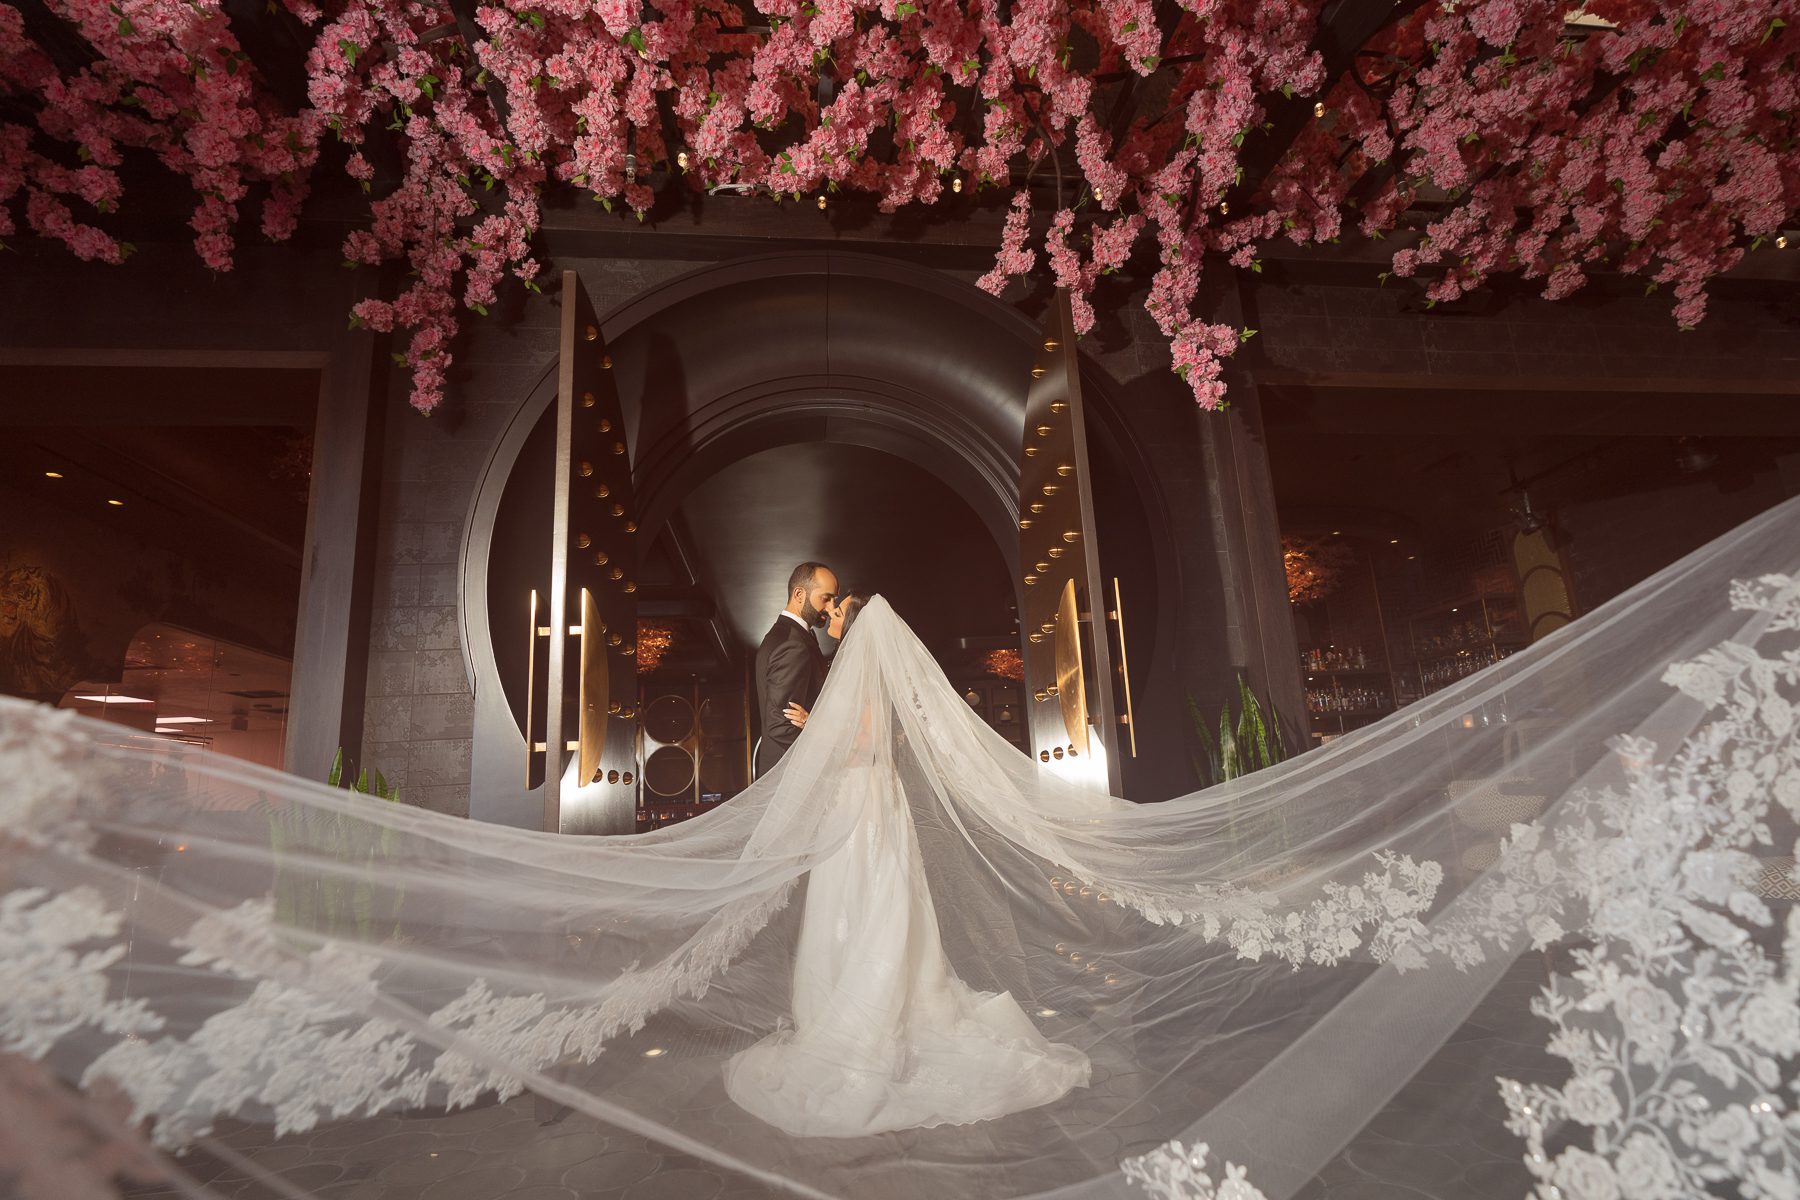
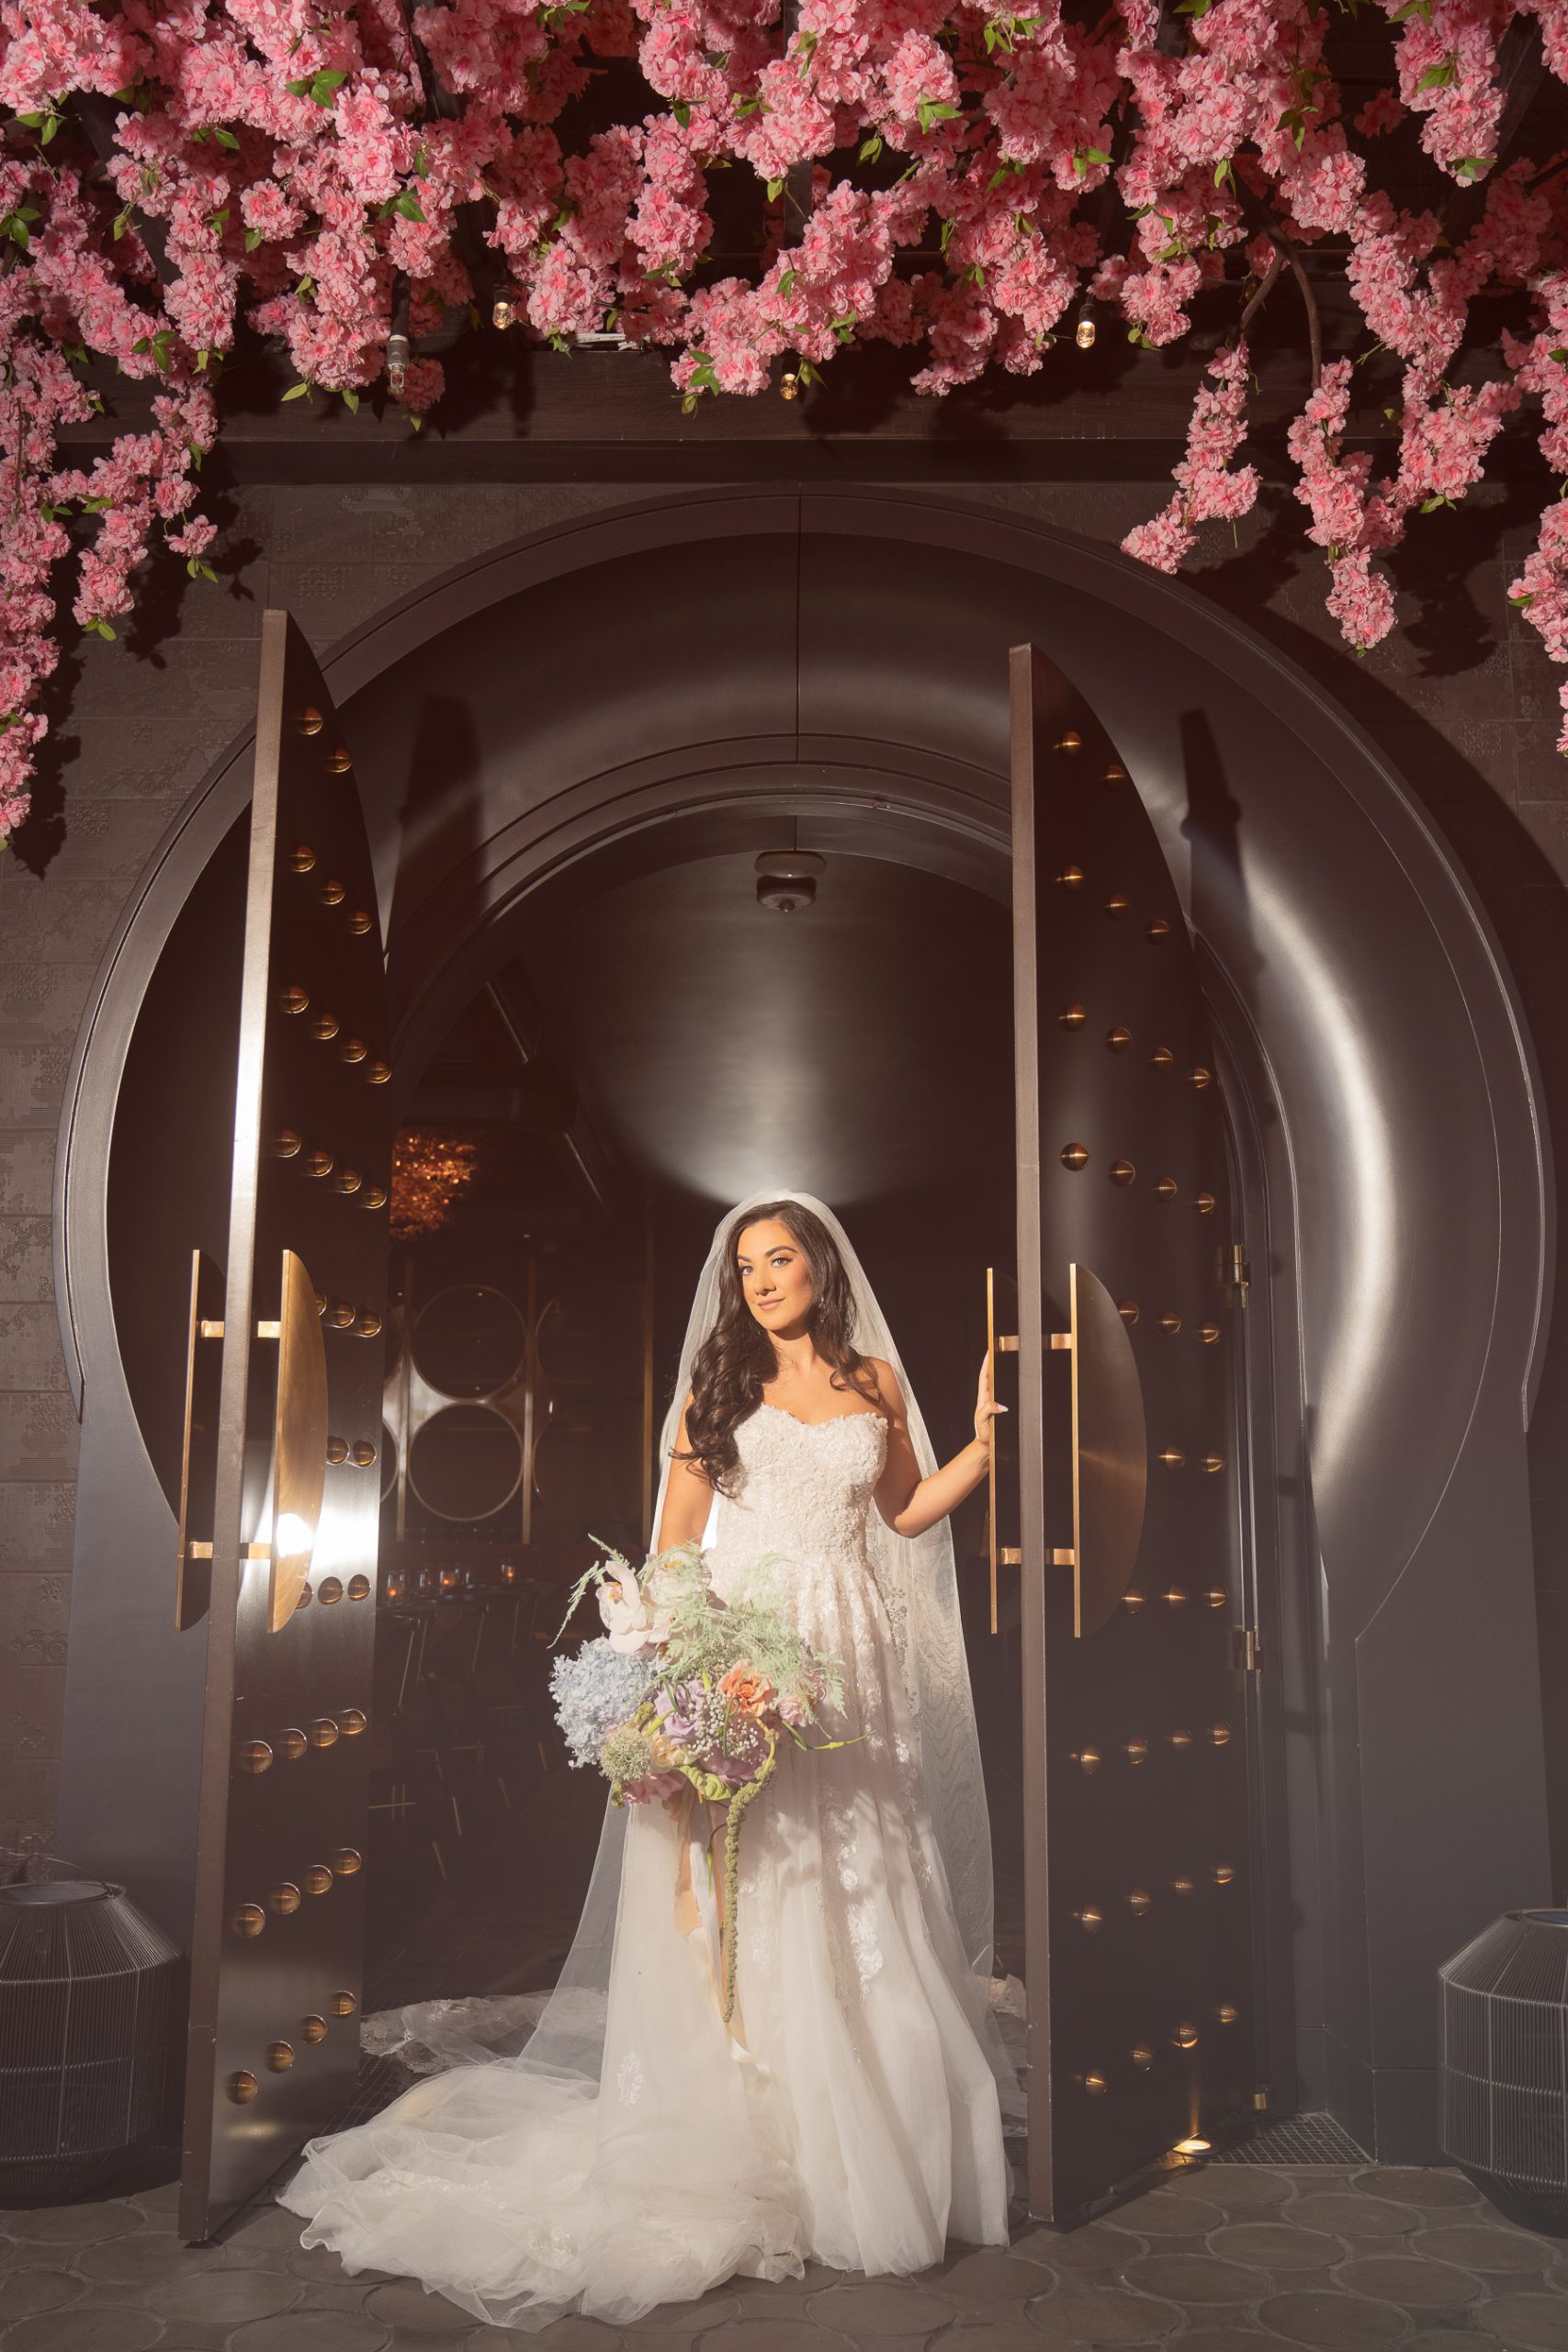
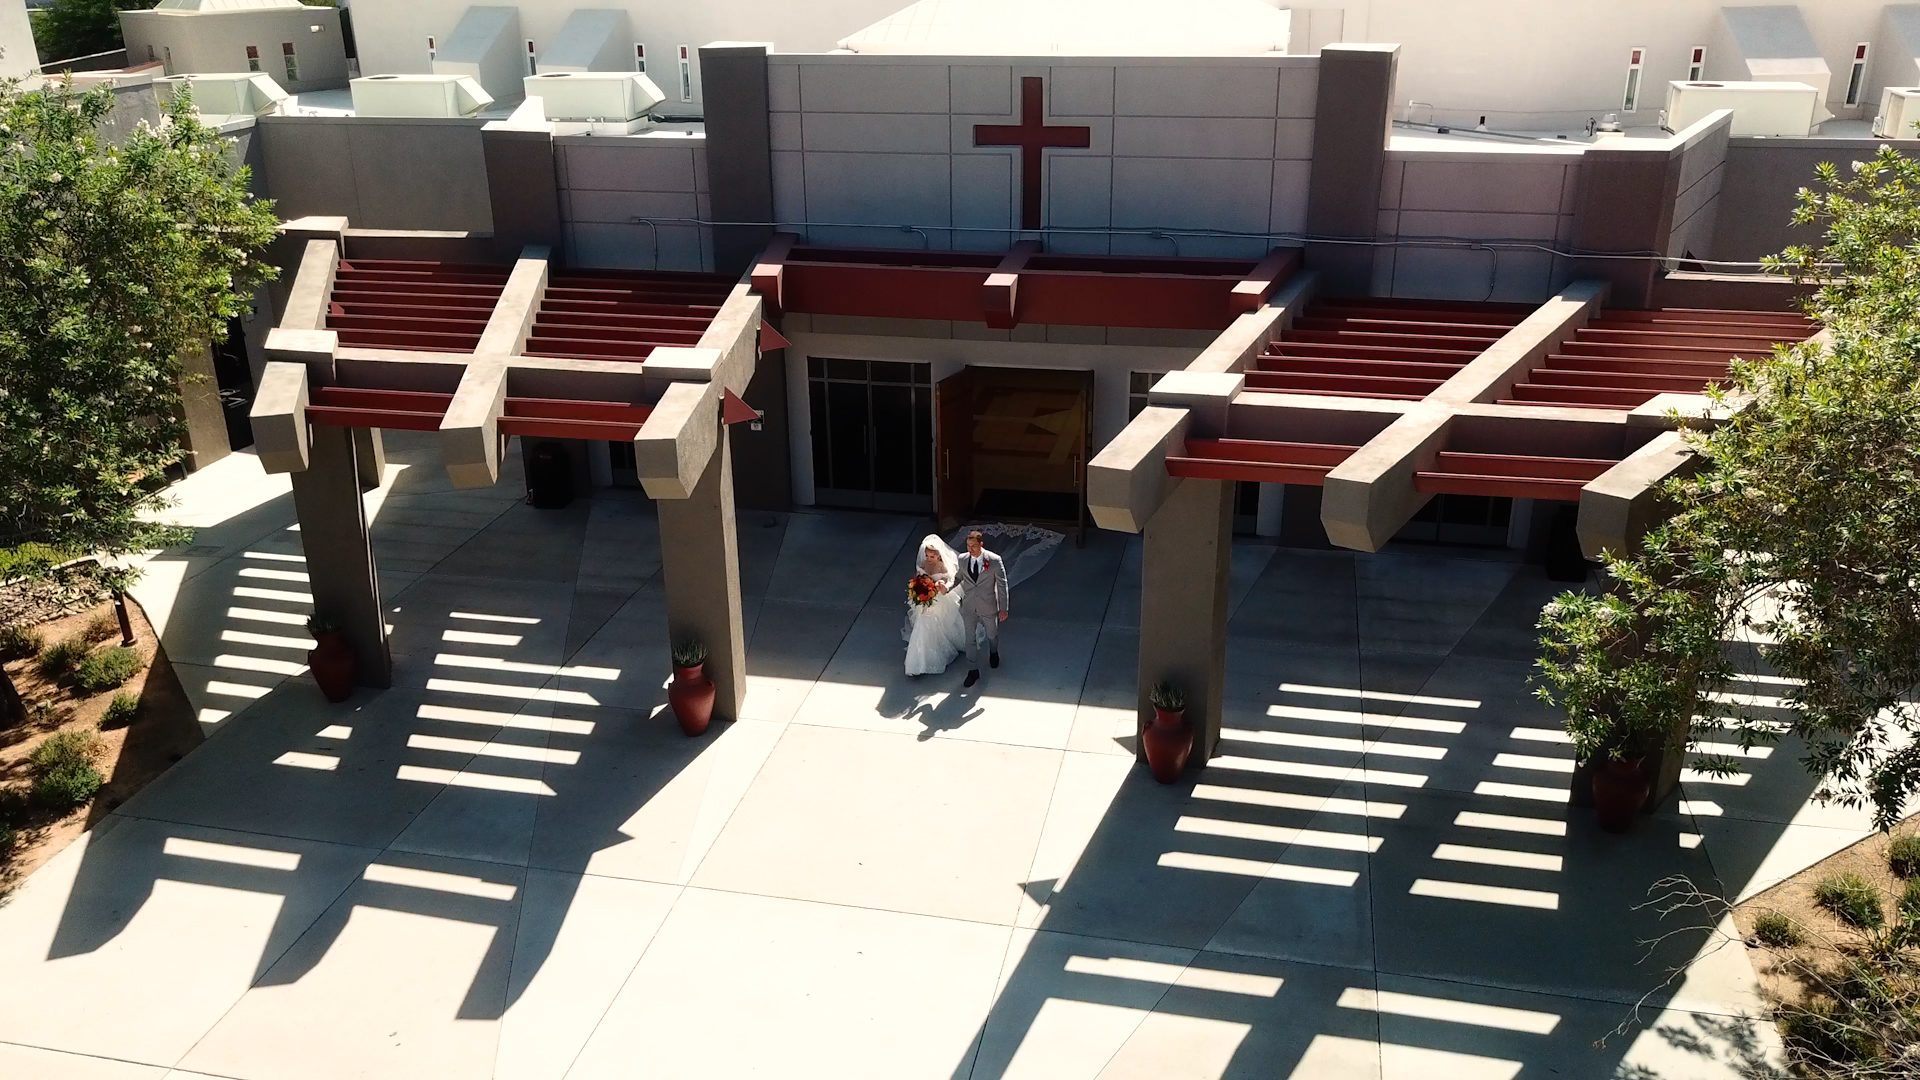
Tip #11: Use The Surrounding Architecture To Your Advantage
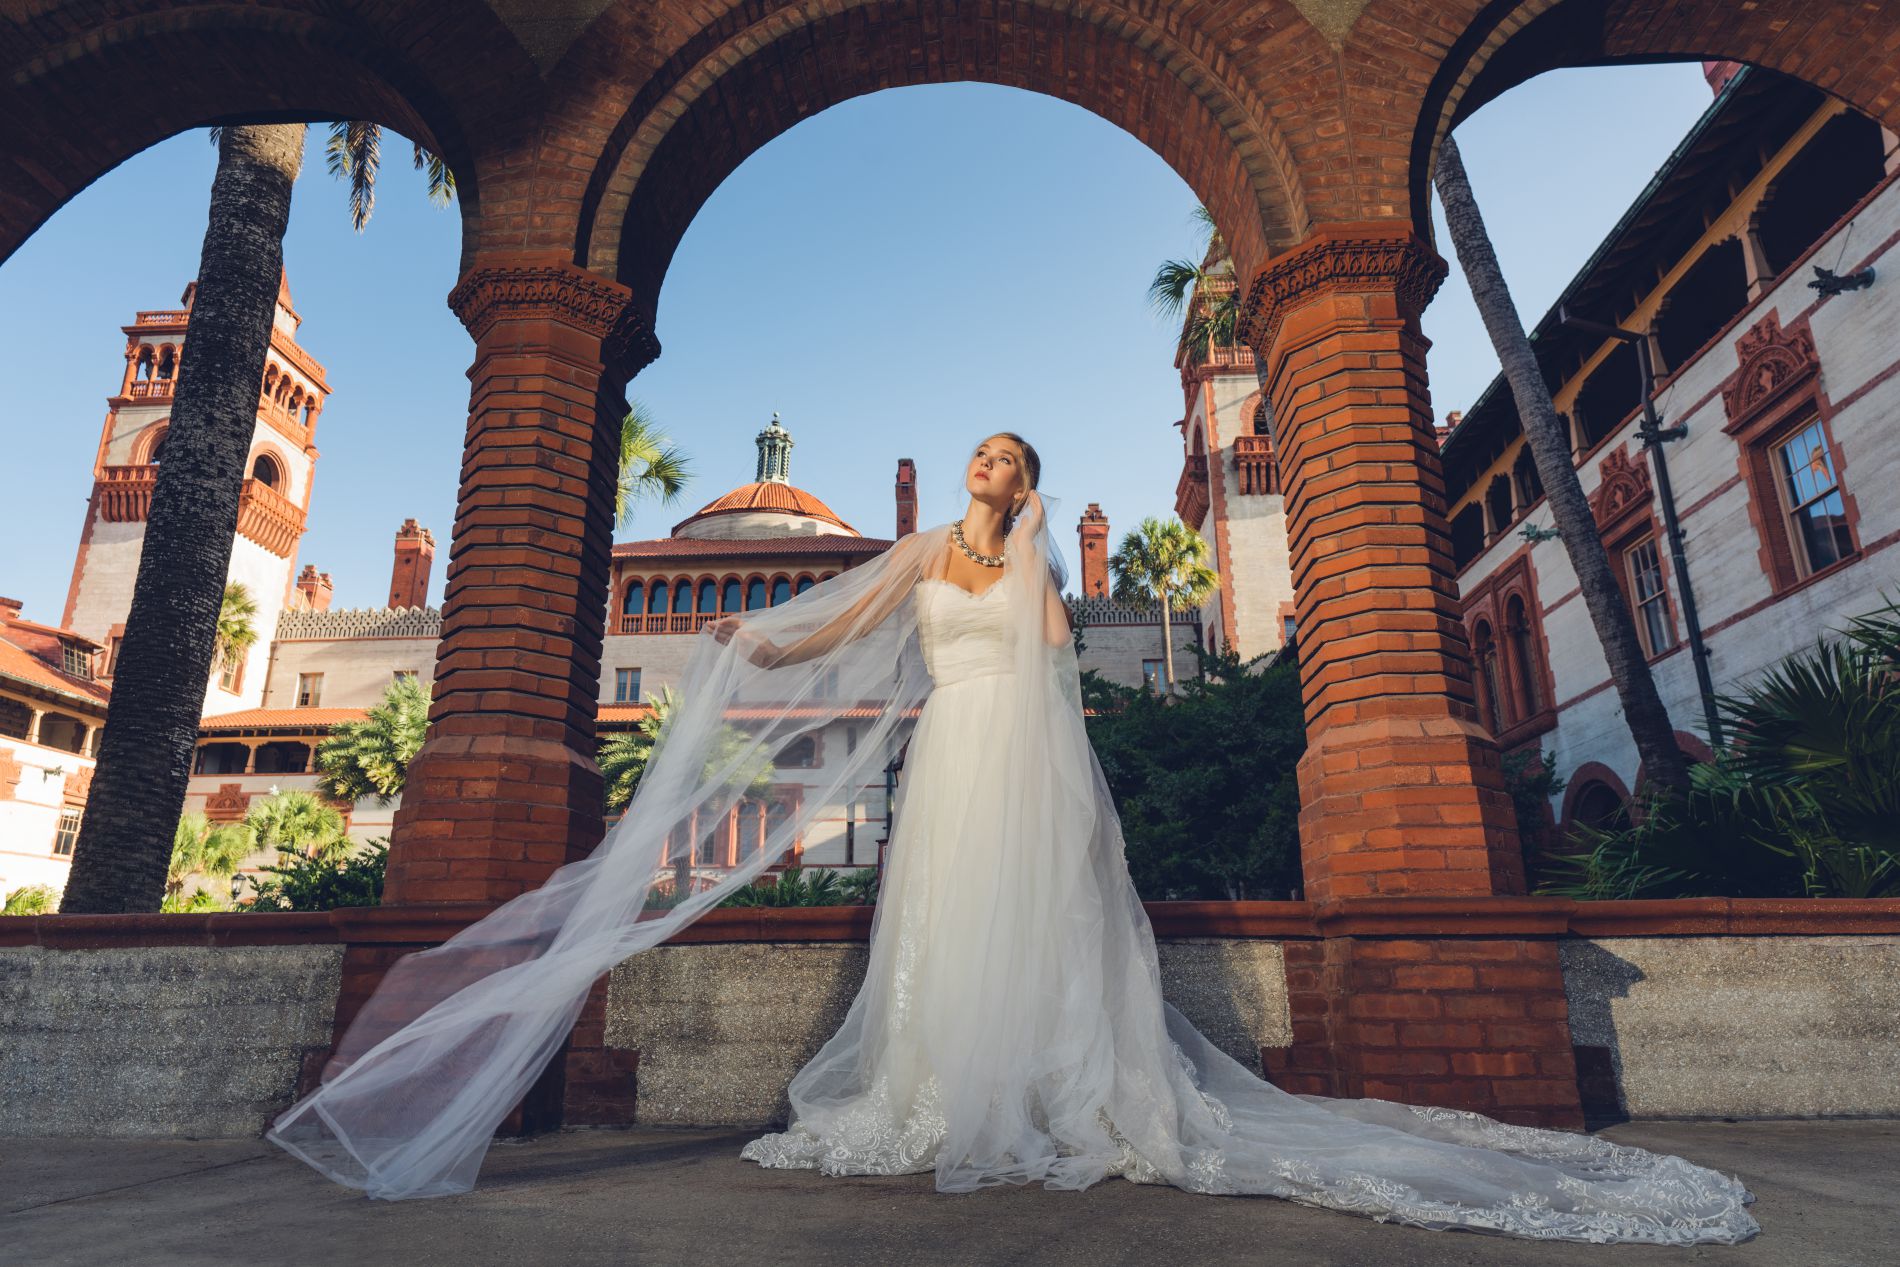
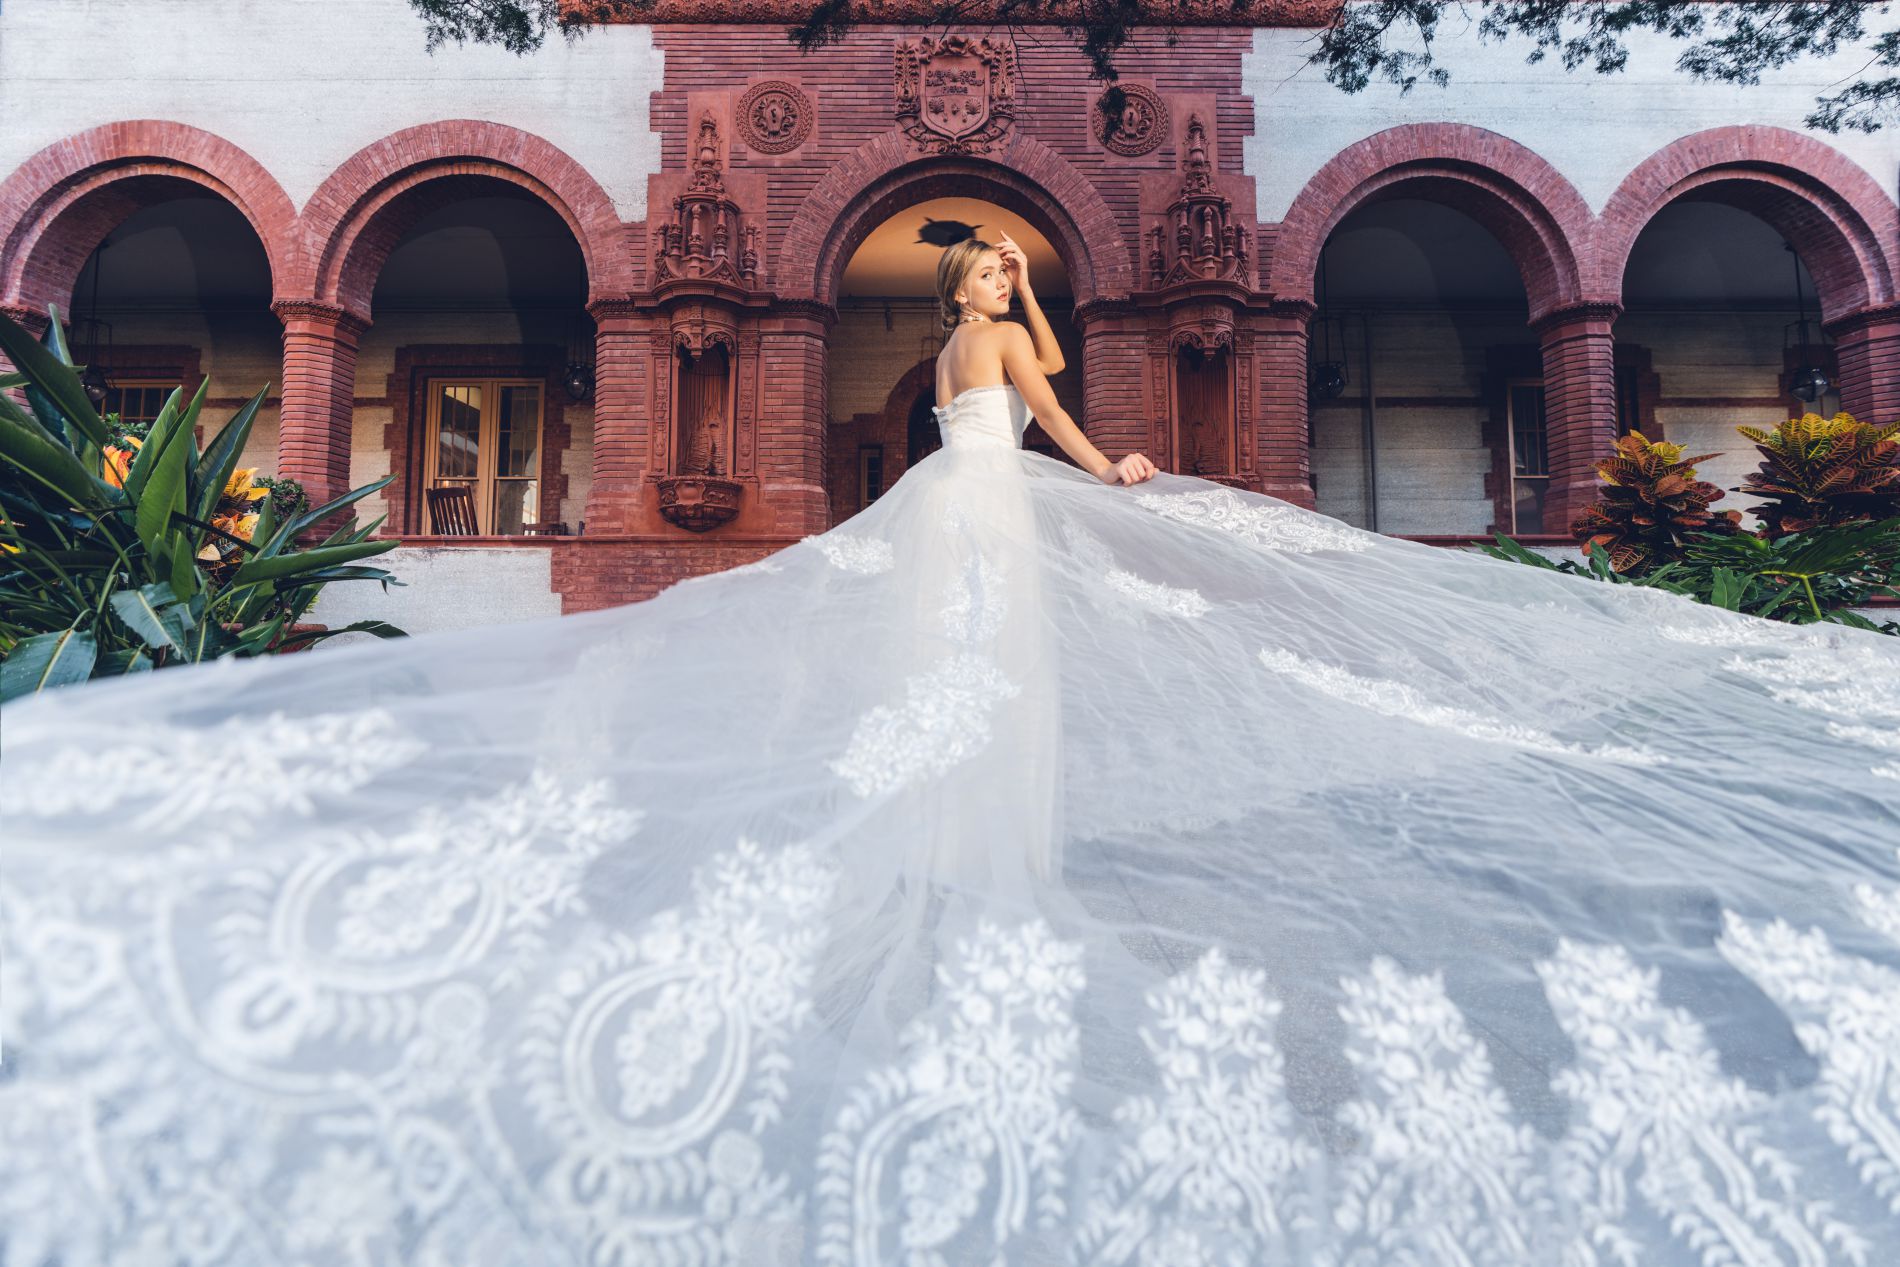
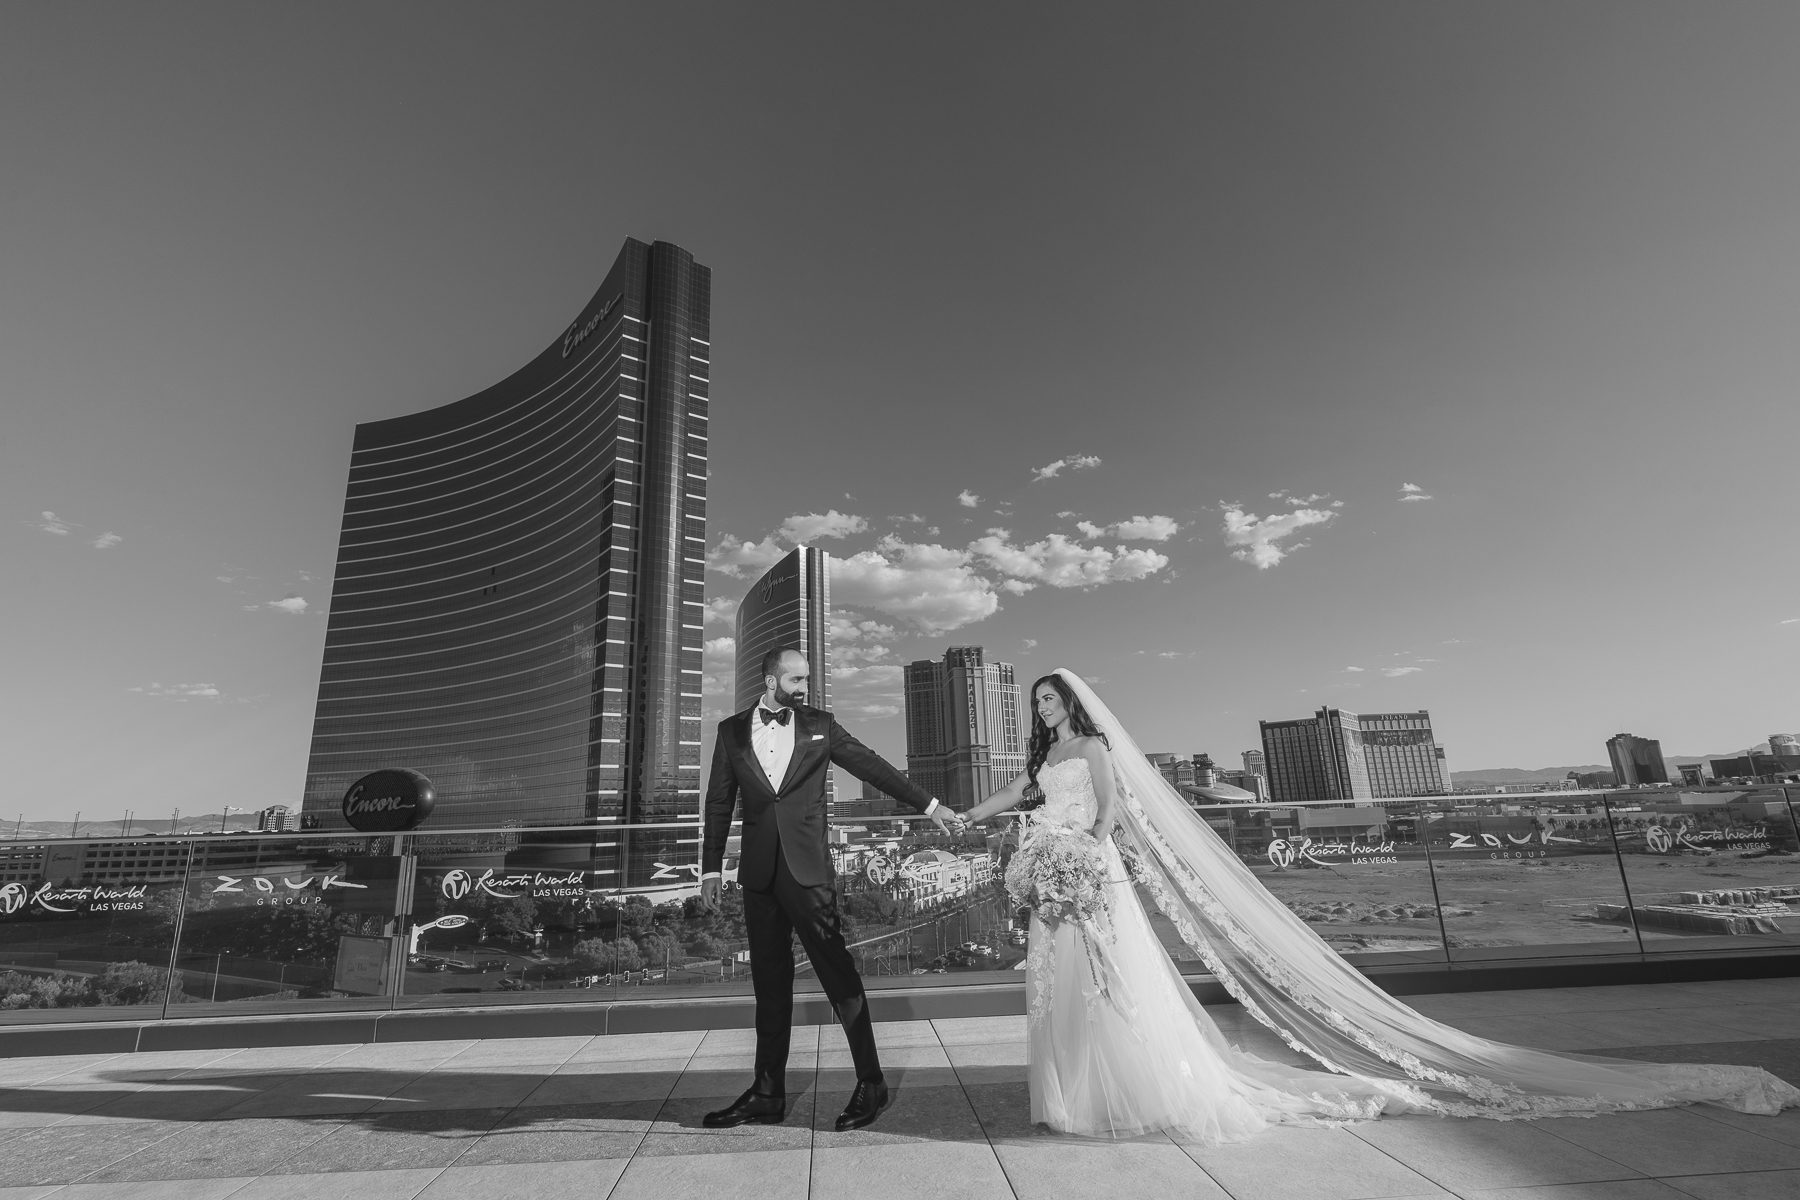
Using prominent architectural elements, such as a church steeple, a balcony, or a fountain, as a backdrop for your wedding photos adds character when done in the right way.
Note: If you have a good backdrop, the foreground will “take its place,” forming a perfect composition.
We encourage you to explore the wedding venue beforehand and see which architectural elements work best.
Tip #12: Take Advantage of The Natural Lighting
Outdoor wedding photography is obviously going to be a unique challenge and quite different from doing a wedding indoors.
When taking photos outside, you have to account for unexpected variables, such as sudden changes in lighting caused by cloud cover.
Rain, wind, and other elements are also a concern—
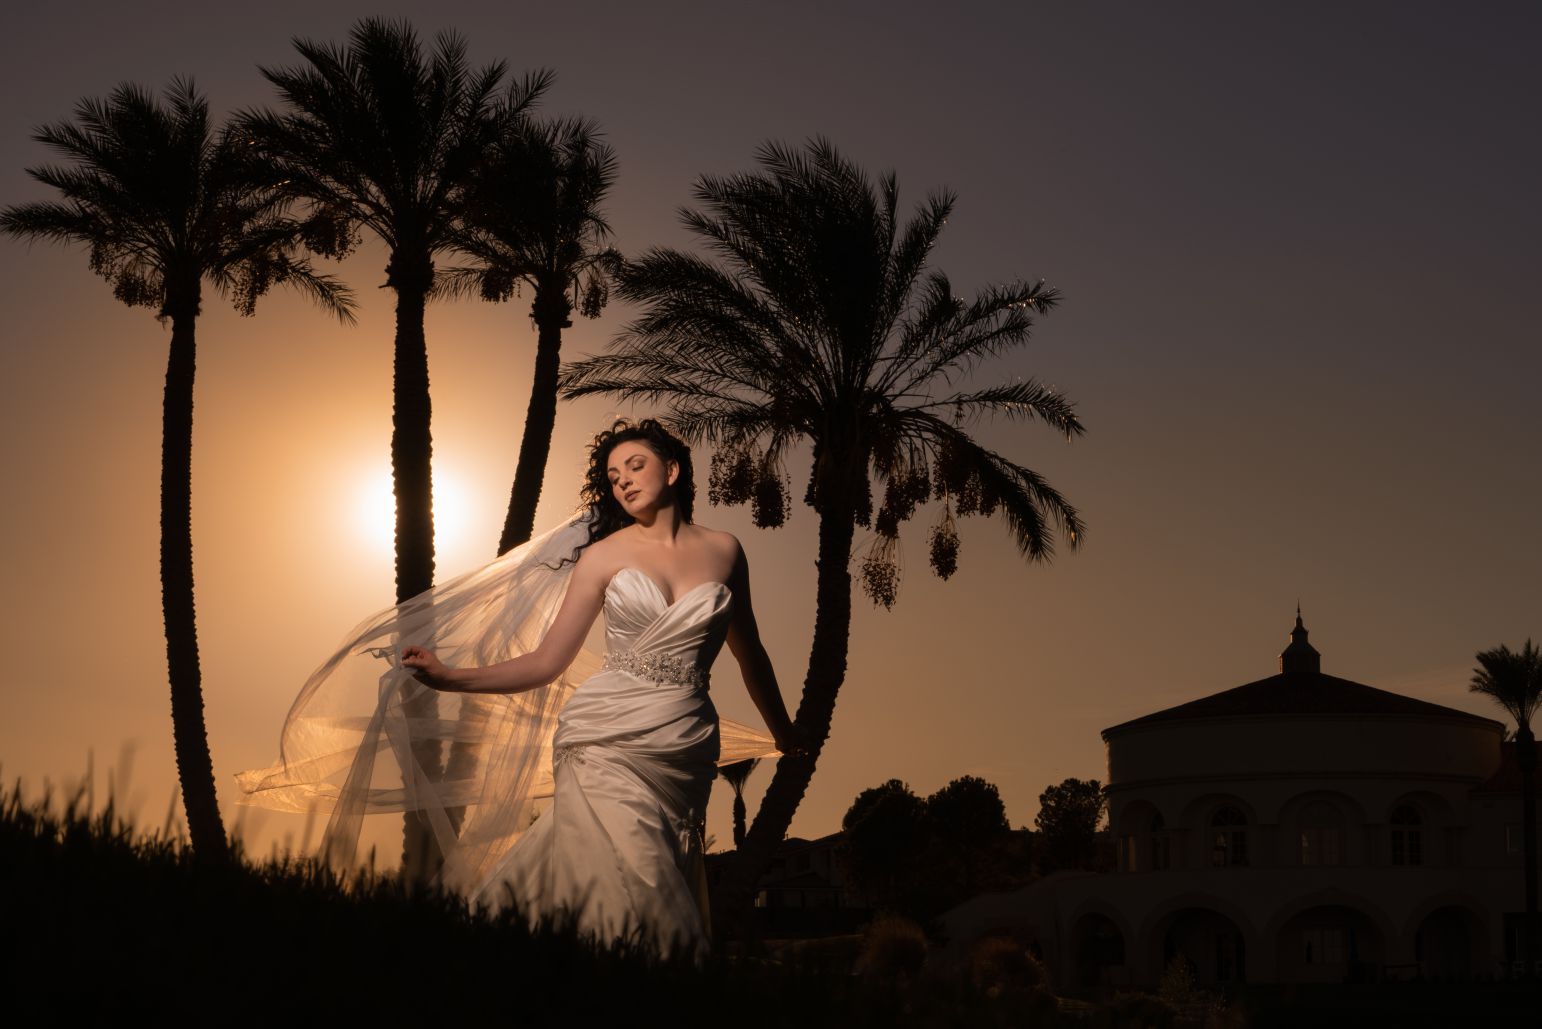
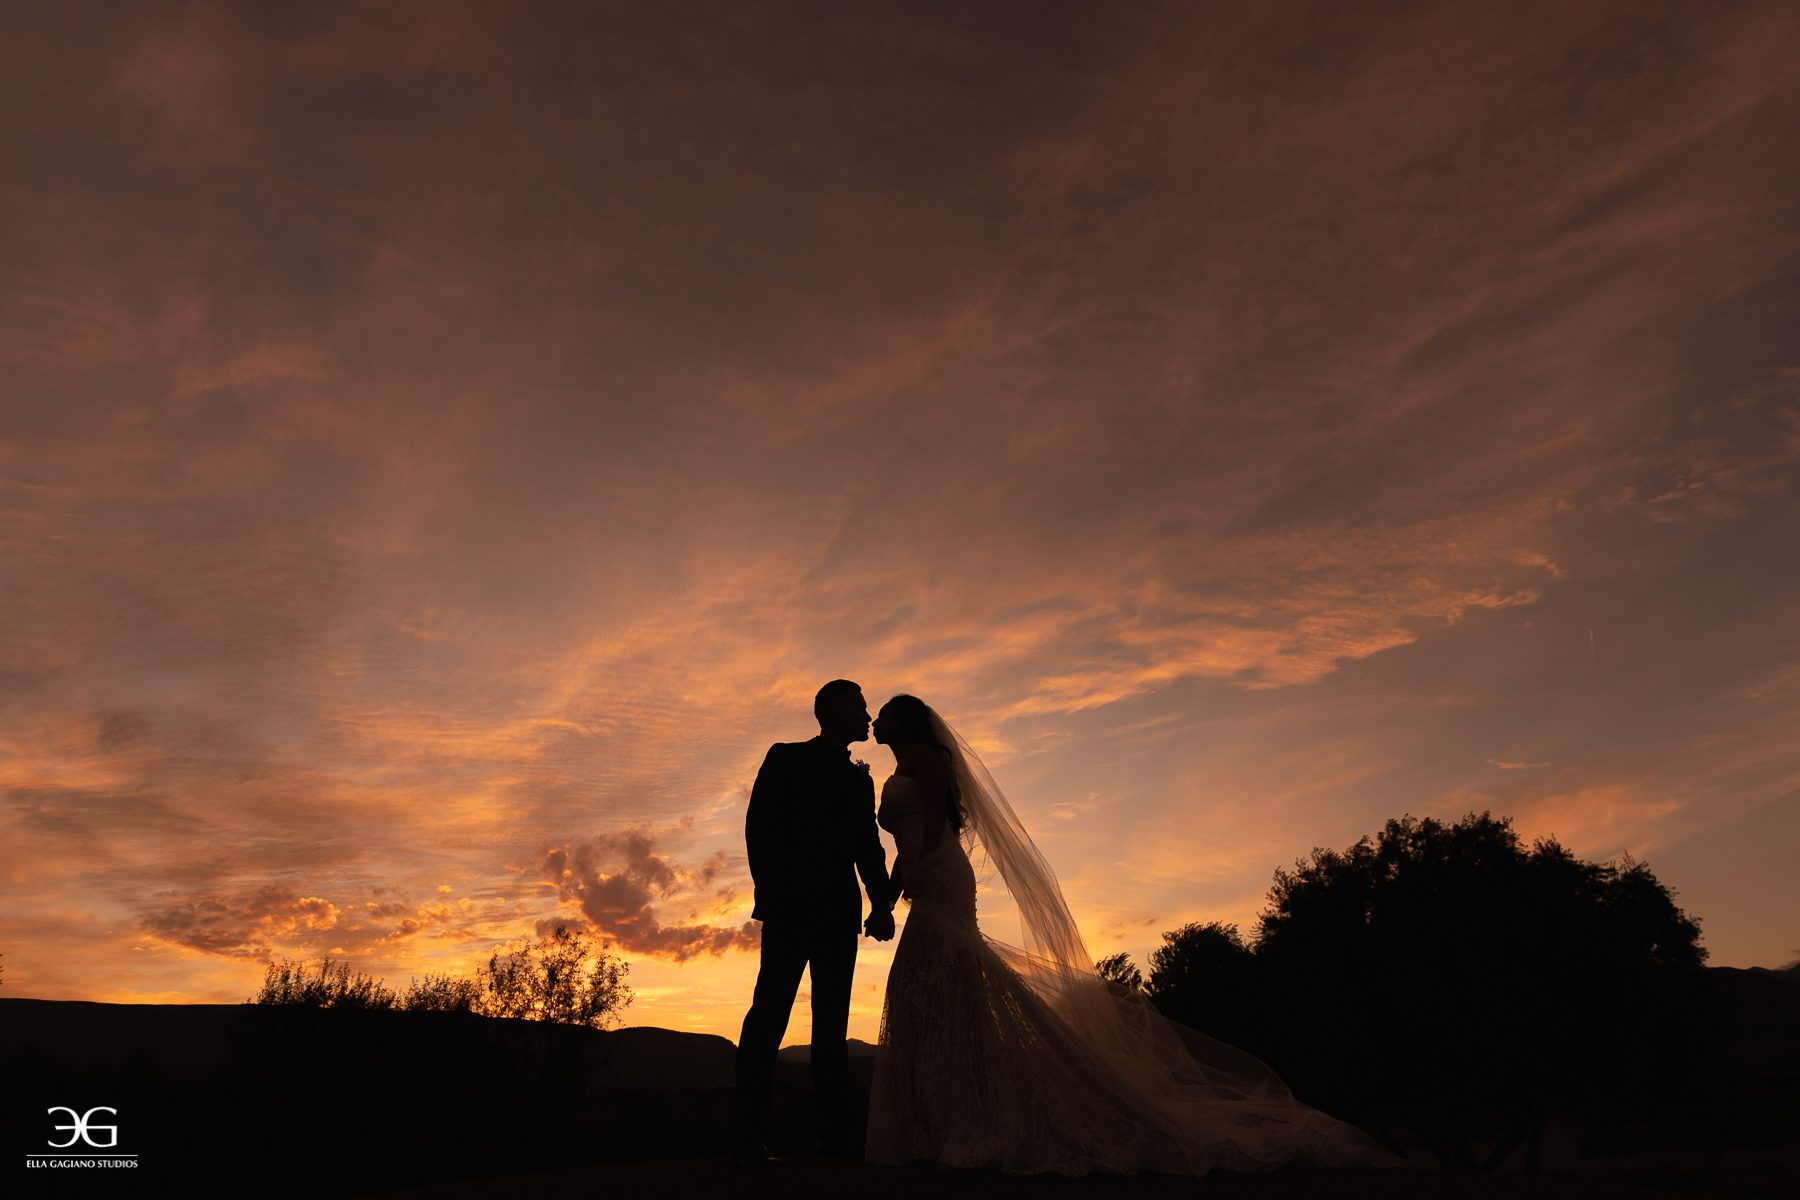
But while we’re on the subject of lighting, we do want to point out that you will inevitably encounter moments where the natural lighting changes and becomes “just right.”
If you can catch these moments and make the most of them, they will help bring your photos to life in a big way.
Tip #13: Look For Shadows
Tip 13 is an extension of tip 12 since you also want to make the most of the shadows that are available, especially when taking photos outside.
Finding the right balance of light and dark gives your photos contrast and dynamism but also ensures that they don’t become too jarring.
This is something that takes practice and requires a sharp eye to achieve.
Wedding photography is all about telling a story.
You want to highlight the most important moments for your client, not necessarily try to experiment on the spot, so practice when you can in your free time.
If you run into heavily shadowed areas, use your camera’s fill-in flash mode. You should be able to turn it on in the camera’s menu, under the section on flash modes.
Tip #14: Experiment With Your Camera Angle
A slight tilt of the camera can, in certain cases, make your pictures more dynamic. You don’t have to shoot strictly horizontally or vertically in every single case.
Keep in mind that whether you tilt some photos during the wedding is really up to the couple. It may not be appropriate for the setting.
With that said, we do encourage you to experiment in your free time with tilting your photos to see how you can enhance your work.
Tip #15: Deepen Your Understanding of Shutter Speeds and Lighting
During your free time, another thing you can experiment with is using slow shutter speeds to bring out the dynamics of your photos.
You can also practice with mixed lighting, i.e., using your flash to “freeze” the subject while at the same time using external lighting to emphasize movement.
Play around with your camera’s sensor sensitivity (ISO) to see how this affects your work.
Tip #16: Use A Bracket To Mount Your Camera Flash
Moving your flash away from your camera’s “hot shoe” can help improve the way shadows appear in your photos, especially in the background.
The best flash brackets are ones that allow you to quickly adjust the camera flash for different types of shots.
Tip #17: Look For Non-Obvious Subjects
The most interesting things that happen at a wedding are not always right in front of you or obvious at first glance.
We mean it when we say that wedding photography is about telling a story.
So, keep an eye out for those golden opportunities that spotlight the feelings, love, and romance of the newlyweds during their big day.
Also, be on the look for other interesting plots.
Tip #18: Train Your Eyes To Notice Detail
As photographers, we are only as good as our practice.
This is why the more you train your eyes to pick up on subtle cues and spot details other people miss, the better your photo sessions will be.
Practice Tidbits
Some practice tidbits include:
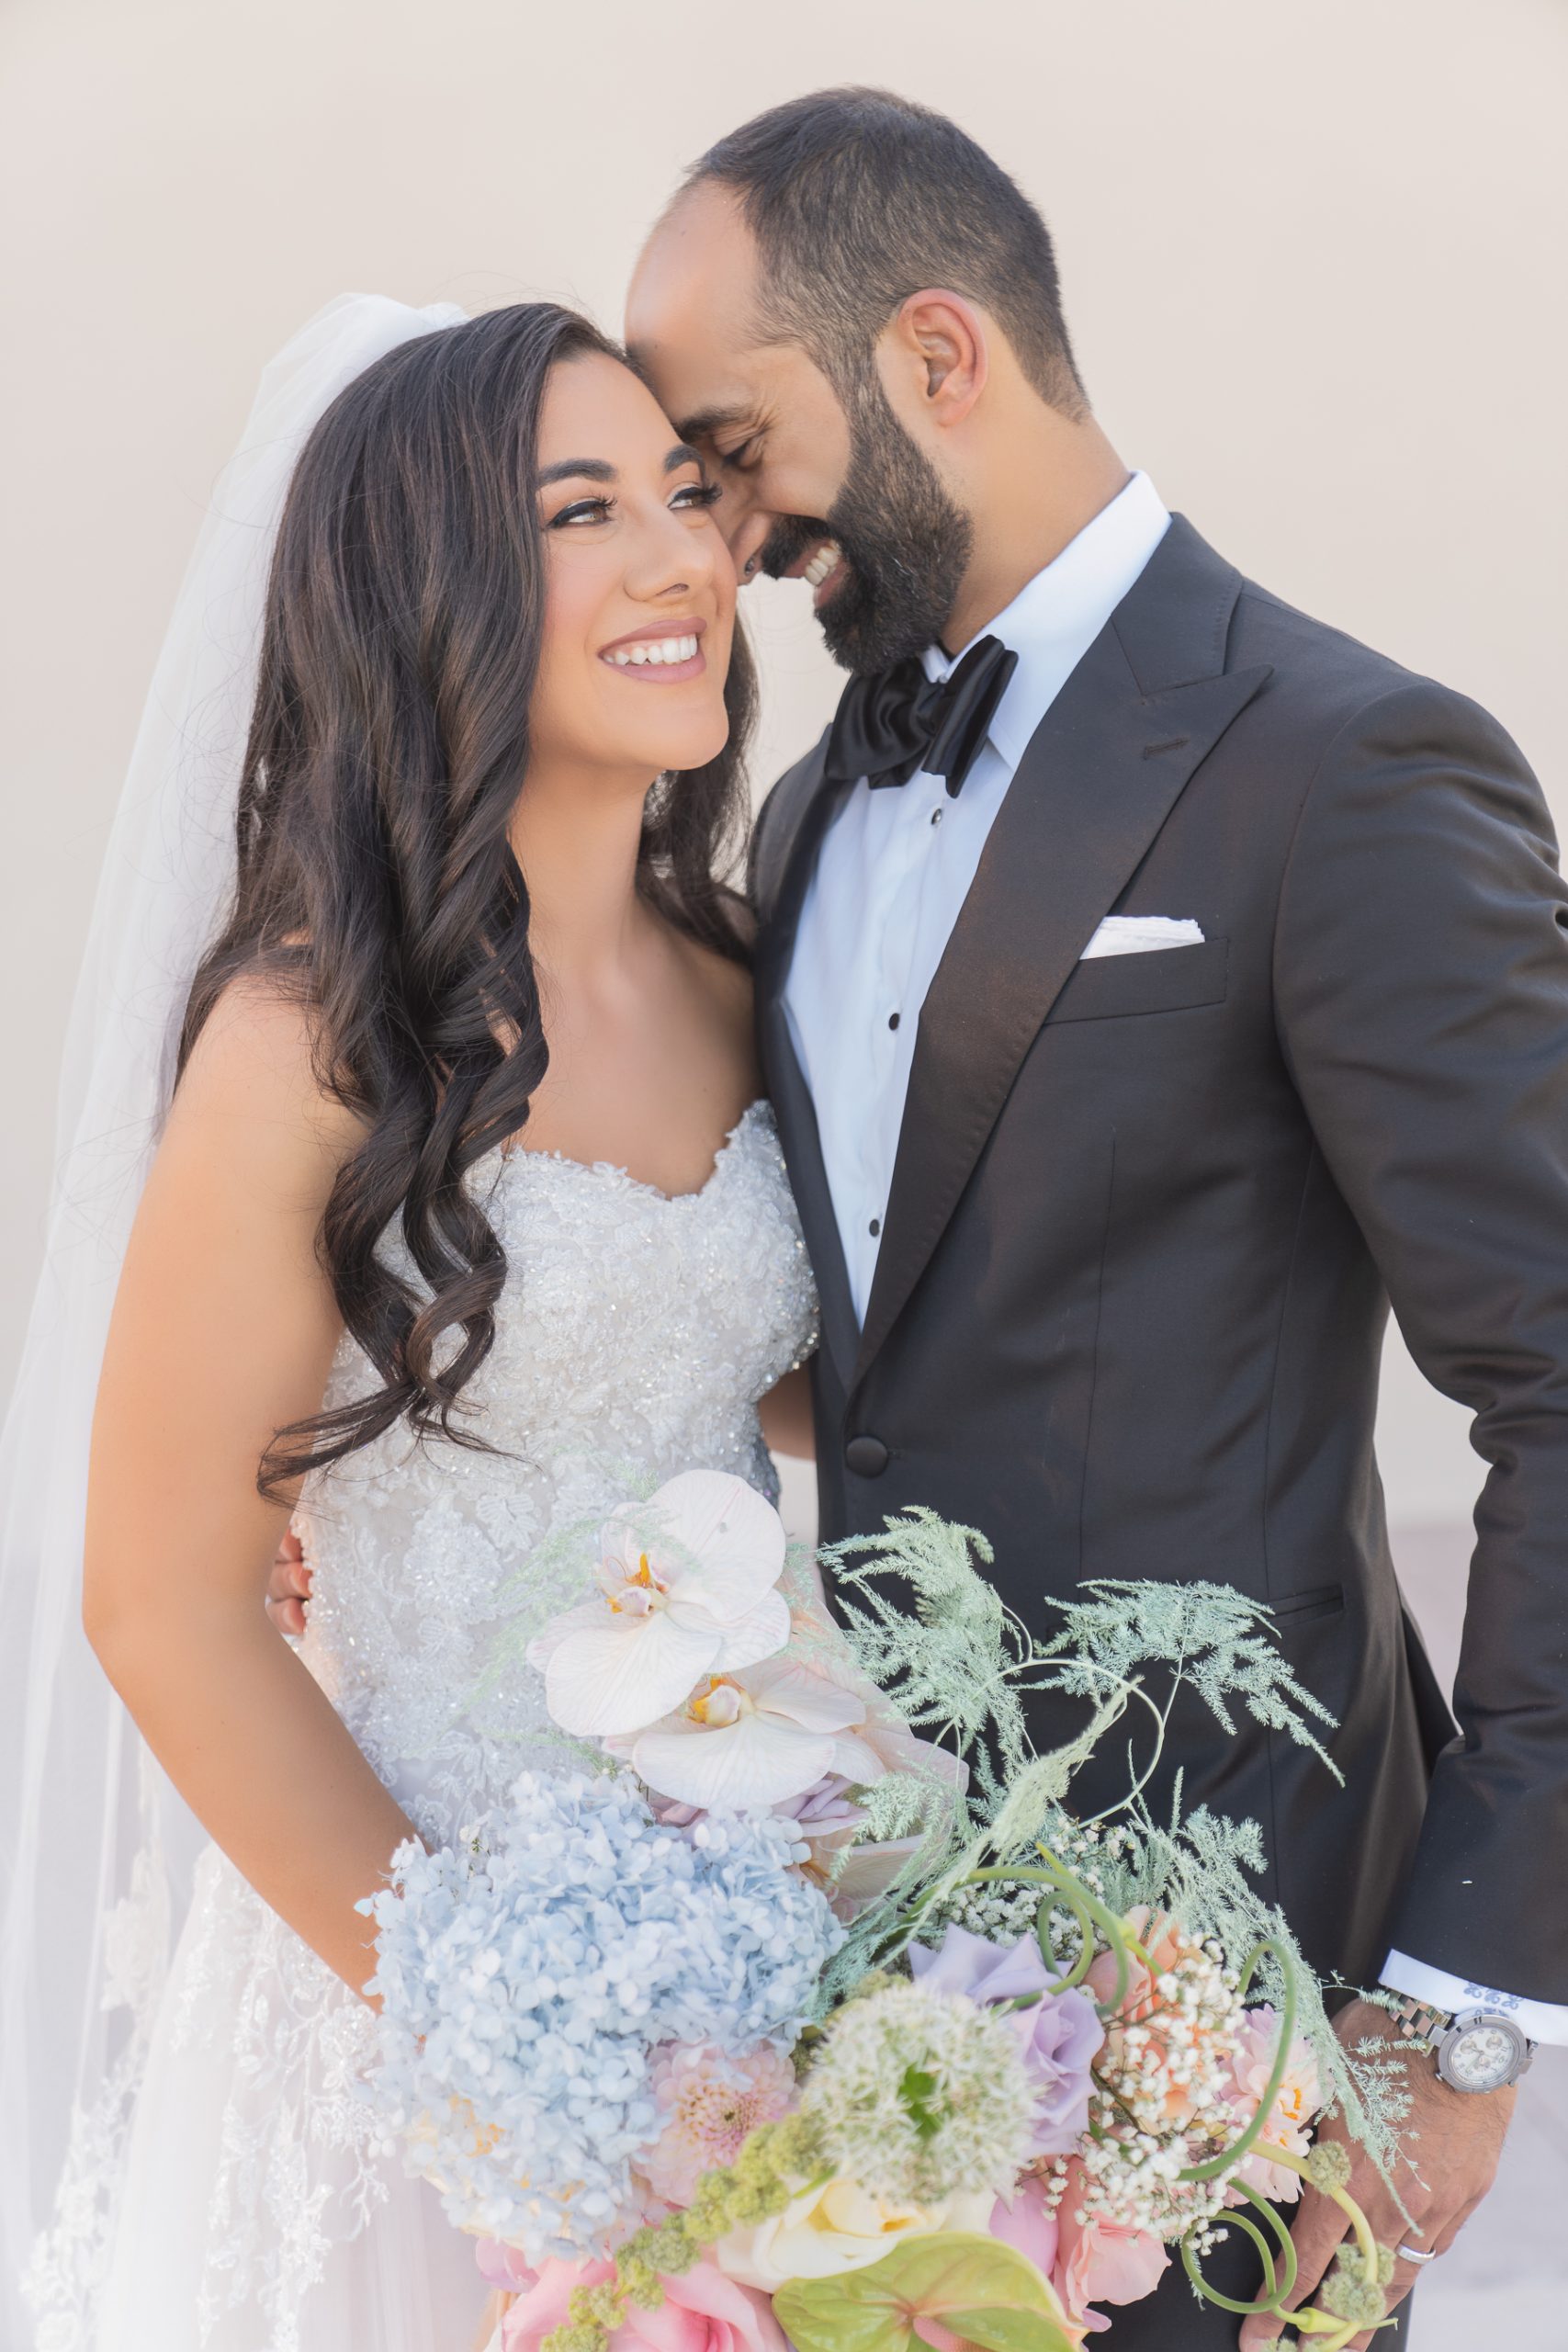
- Spotlighting emotion. Anytime your subjects smile, laugh, or become emotional, your job is to honor that moment and bring it to life.
- Paying attention to the background. The background, as well as any accessories and surrounding objects, are tools that you can use to add character to your photos.
The better you get at recognizing excellent settings and candid moments, the more impactful your wedding photography will be.
Tip #19: Take Pictures From A Lower Vantage Point
In your free time, try experimenting with taking pictures from a lower vantage point.
You’ll probably need to sit or even lie down to accomplish this.
We get that lying down during the middle of your wedding photography session almost certainly won’t work.
But the more you practice taking photos from different vantage points, the more dynamic your work will be.
Tip #20: Be Friendly and Engage With Your Subject
Skilled photographers have a very fine gauge for when it is appropriate to hang back and when to interact with their subjects.
There will be times when you need to coordinate with the wedding party to gather everyone for a group photo.
Once you’ve gotten their attention, be friendly, tell a quick joke, make a witty remark.
Anything that creates rapport with your subjects, gains their attention, makes them laugh, etc., is beneficial.
Tip #21: Give Your Photos A Bit More Grit
Grainy photos have a certain mood, which can be used in certain (but definitely not all) situations.
Speak with the couple beforehand about the style of photographs they are hoping for.
If they do want you to utilize a grainy look, turn off the flash and increase your camera’s ISO, which is standard for low-light/no-flash photography.
Tip #22: Try Taking Pictures With A Telephoto Lens
Telephoto lenses are extremely useful since they give you the ability to zoom in (as much as 2 times Optical zoom) on your subjects.
They also help you with taking photos from a distance and being the “discreet observer.”
One of the downsides, however, of telephoto lenses is that they are sensitive to movement and shaking.
You most likely will need a tripod handy when using these types of lenses.
Tip #23: Make Friends With The Wedding Organizers
New photographers sometimes overlook this step, but you will certainly want to adhere to it.
The truth is that none of us are perfect, and even skilled photographers don’t pick up on every detail. There might be important moments that you miss because you’re not aware they are happening.
Coordinating closely with the wedding organizers helps you solve this problem.
The organizers can alert you to what events are happening or about to come up, which will ensure that you are in the right place at the right time.
Tip #24: Don’t Impose
Remember that weddings have many different types of people, so not everyone may want their photos taken.
If you’re unsure whether you should take a photo of a certain person, it’s always best to ask for permission or to look for an obvious sign that lets you know they are ok with it.
The point here is not to walk on eggshells but to be cognizant of social cues.
With experience, you will learn to recognize the signals people give when they don’t want to be photographed.
Tip #25: Catch Funny Moments
This tip is very similar to tip 18, but we do want to emphasize it.
Not only should you train your eyes to look for details and catch opportune moments, but you should also be an expert at highlighting funny moments.
Weddings and wedding receptions always have funny moments, so be on the lookout for opportunities.
Your clients will appreciate your attention to detail. Everyone wants photos that are fun and enjoyable.
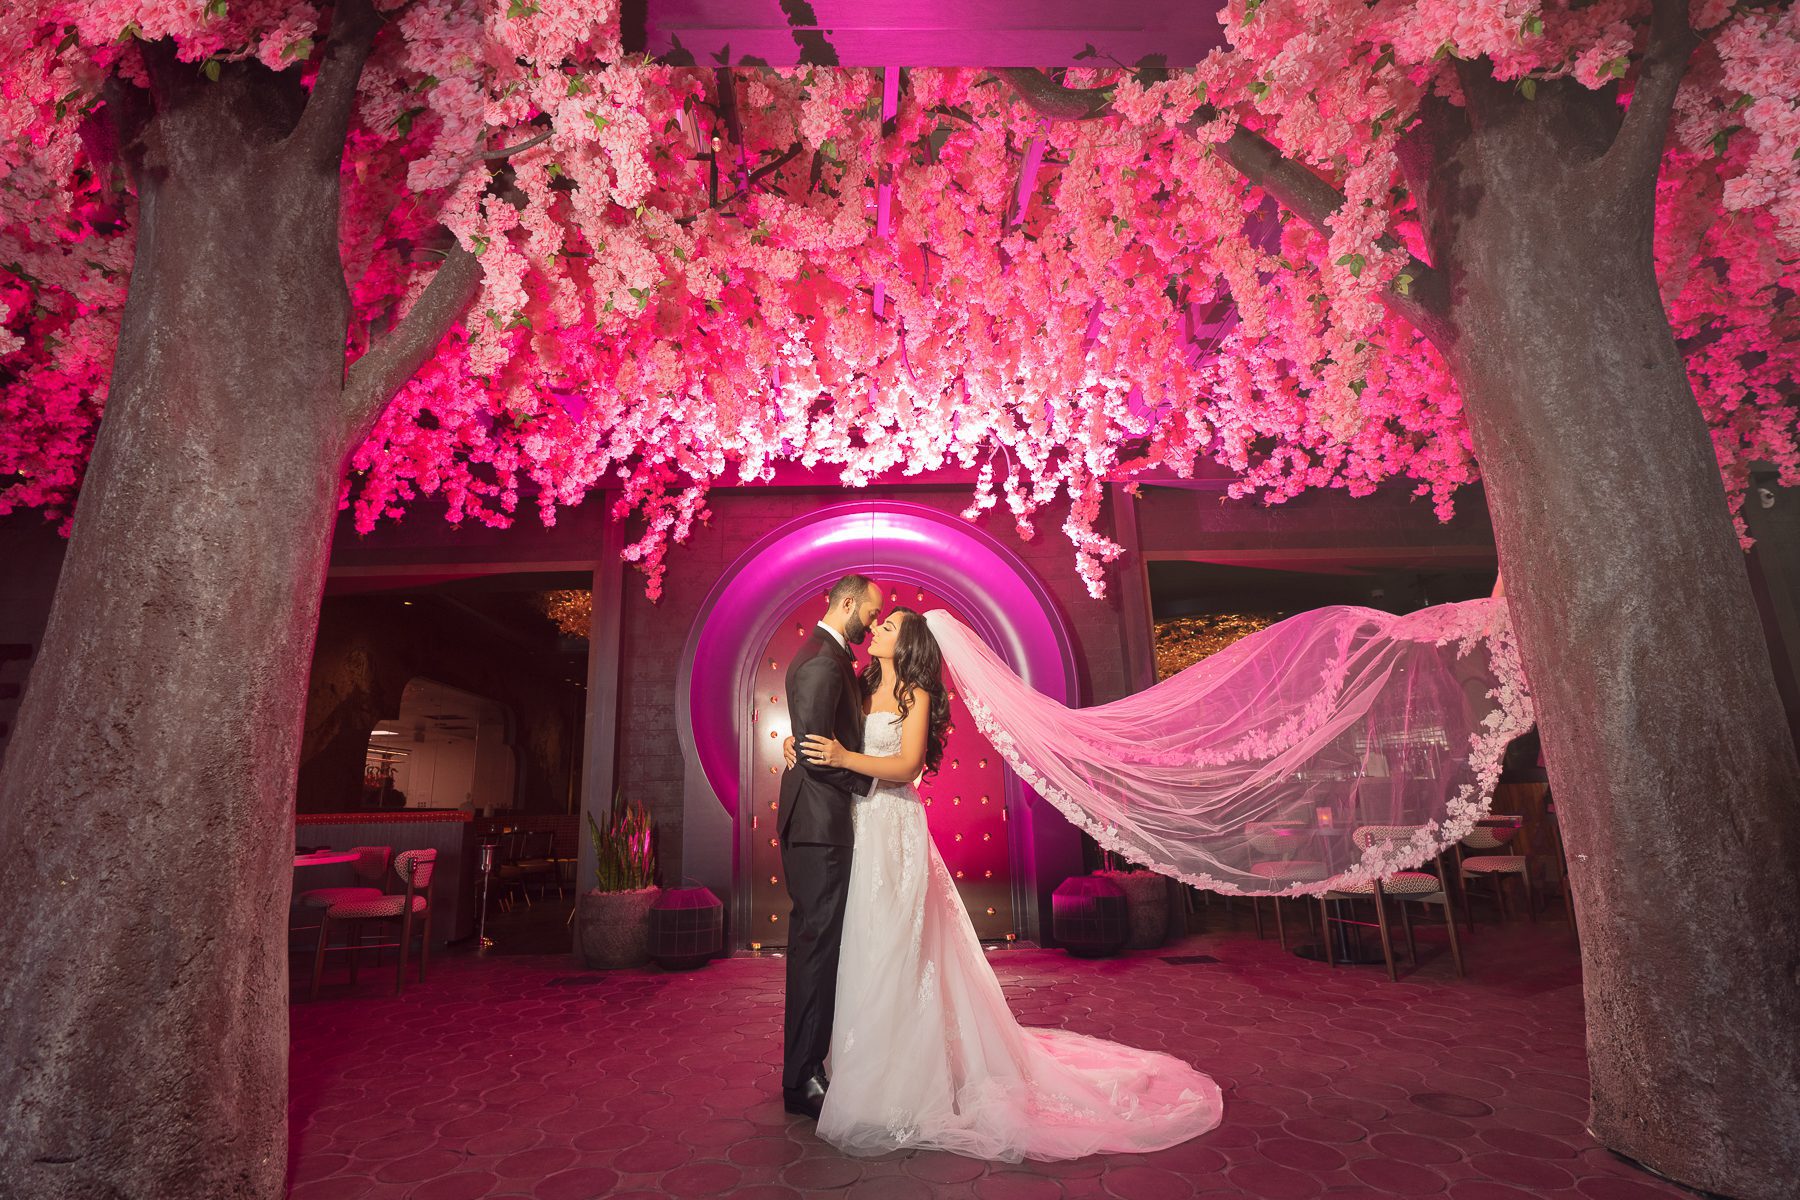
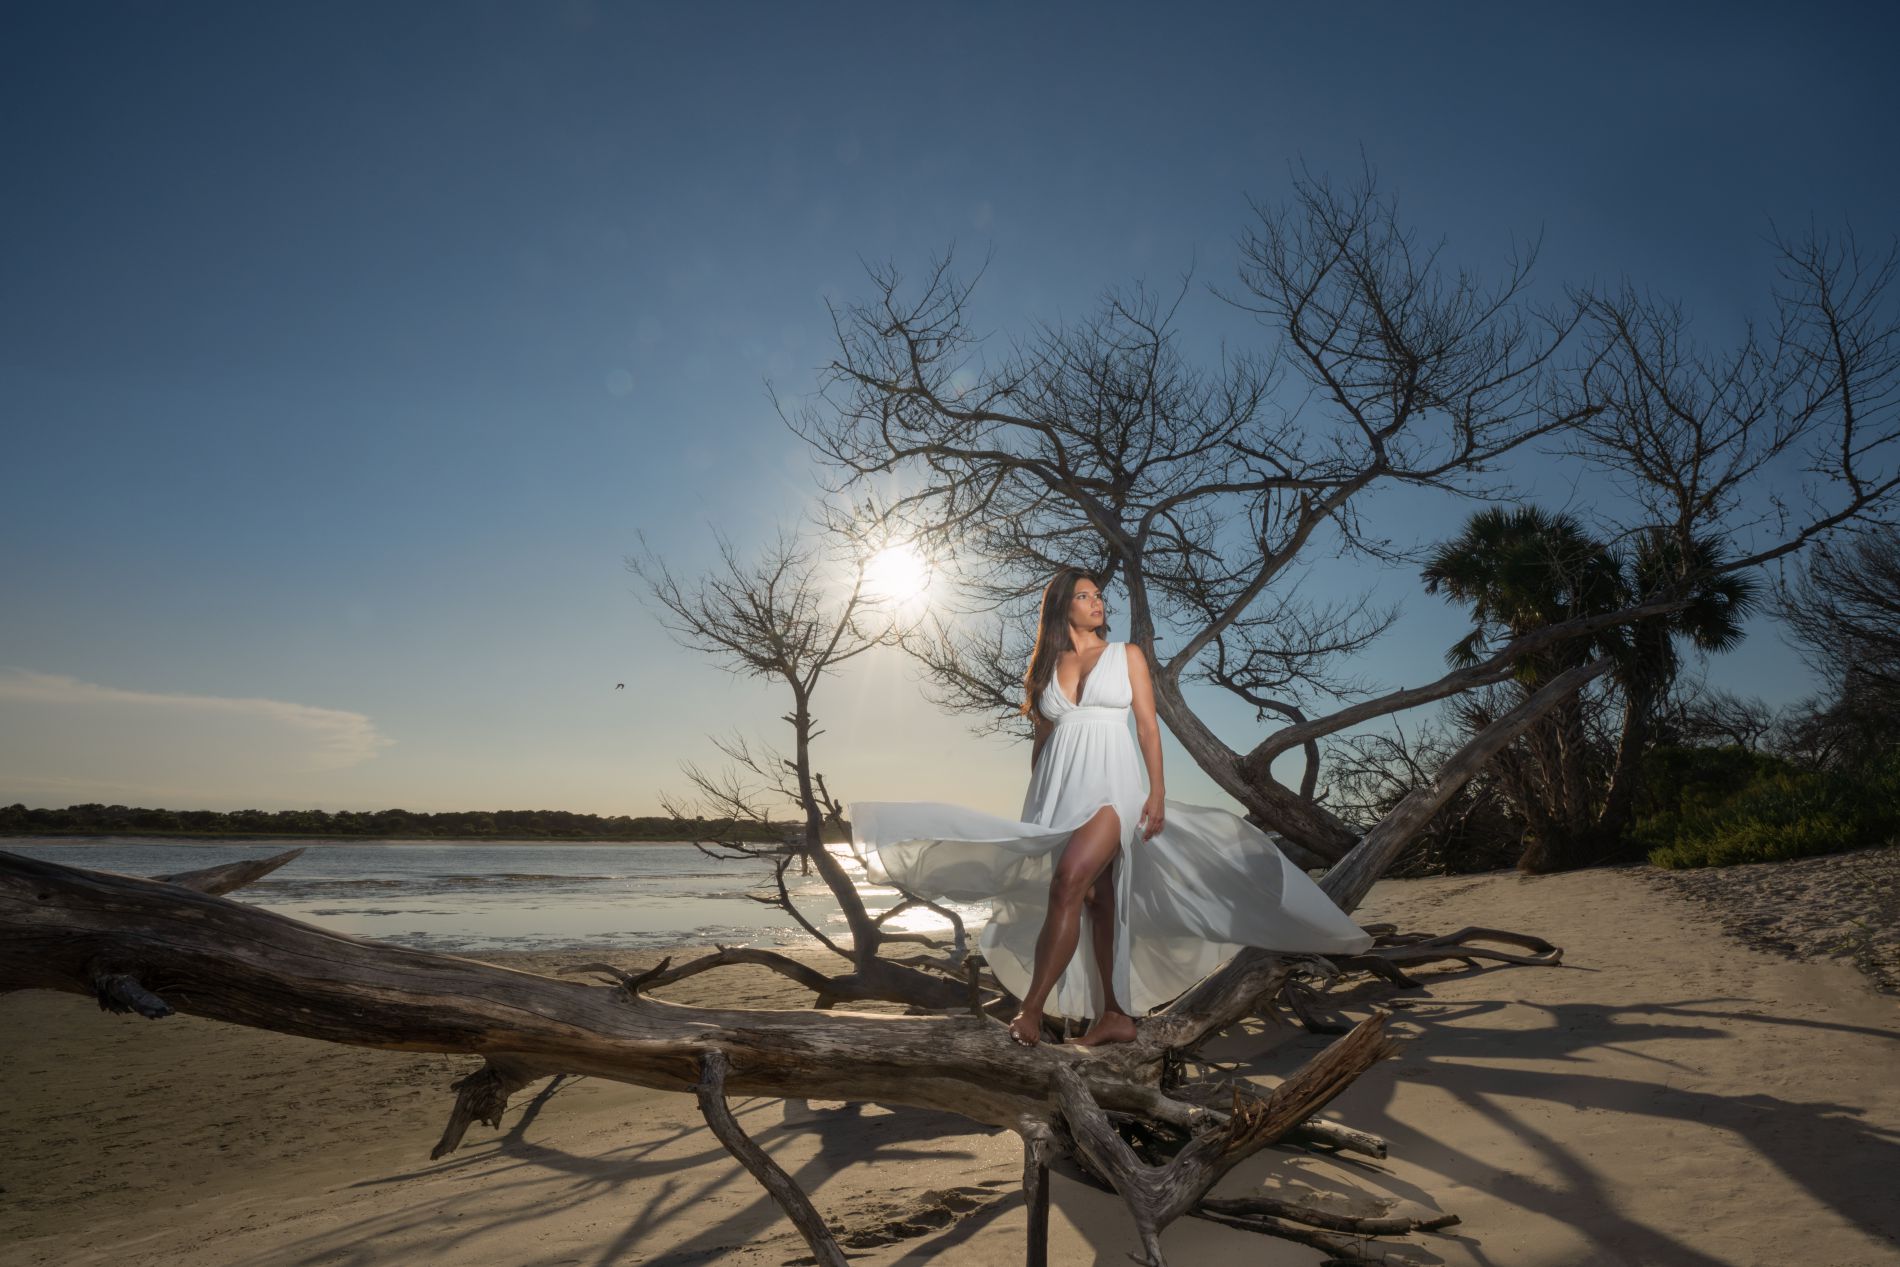
Tip #26: Use The Wind To Your Advantage
For outdoor wedding photography in windy weather, you have the opportunity to use the wind to your advantage.
Wind can either be a distraction or a helpful tool for adding movement and dynamism to your photos.
We suggest practicing your craft in windy areas to learn how you can make the most of them.
Here are some specific tips we recommend when working in a windy area:
- Use a quicker shutter speed
- Turn on image stabilization
- Shield your camera from the wind
- Use a tripod
- Find structures, such as a wall or tall, heavy bushes, that can shield your subjects from the wind
- When changing lenses, go inside or take cover from the wind to keep dirt from getting inside the camera.
- Use a lens filter
Tip #27: Meet The Couple Beforehand
Our suggestion: Always meet in advance with the couple before the wedding.
Believe it or not, some newer photographers make the mistake of booking over the phone without actually going to meet their clients until the day of.
Having an in-person meeting will help you get to know each other and give you a chance to really find out what your clients want. Take advantage of the opportunity!
Tip #28: Create A Positive Atmosphere
Remember that the best photographers do much more than just take photos.
They provide an amazing experience for their clients, which means you have to create a positive atmosphere.
Smile at people. Make eye contact. Direct the subjects in the frame with kindness and enthusiasm.
In some sense, you want to be the life of the party….Without of course taking attention away from the newlyweds.
This is the mindset you want to have going in.
Tip #29: Go With The Flow
Every wedding and weddings reception is different and will ebb and flow naturally—
Meaning you won’t be able to photograph every single moment or direct the guests’ attention 100 percent of the time, nor should you.
Allow time and space for guests to mingle, take their own photos, grab food, dance, etc.
Meanwhile:
Be scouting the wedding for those who would like to take photos with you.
This approach will help you organize group shots since you won’t be forcing anything but instead finding a natural rhythm.
Tip #30: Use The Subtle Approach To Take Candid Photos
To enhance your wedding photography, try framing your subject through the viewfinder, then drawing their attention to you, and taking a candid photo when they aren’t posing.
You might ask about their favorite color or what band they like. Anything to create a well-meaning distraction will suffice.
When they realize you’ve already taken their photo, you can show them and see if they approve.
You’ll find that 9 times out of 10, people appreciate their candid photos.
Tip #31: Develop A Problem-Solving Mindset
When dealing with a hectic or challenging environment (sometimes your wedding photography sessions will encounter challenges), you don’t want to:
Spend the entire session fighting the elements, running around trying to get people’s attention, racing against time, etc.
Instead, you want to develop a problem-solving mindset and build it like a muscle.
Time and Experience Are Your Friends
As you gain confidence and experience, you will develop the ability to find many ways to deal with unforeseen circumstances.
This is helpful to understand since new photographers can sometimes get a little overwhelmed when faced with dozens of wedding guests and unexpected twists and turns.
Tip #32: Prepare For Rainy Weather
Outdoor wedding photography is beautiful, interesting, exciting, and a whole lot of fun.
But it does come with one major drawback—the weather.
Unless you live in a dry area, you’ll want to prepare for rain.
Remember Murphy’s Law (Anything that can go wrong will go wrong), and bring umbrellas and whatever gear is necessary to protect your equipment!
Tip #33: Get The Guests Involved
Your wedding photography sessions will usually have dozens, if not hundreds, of people.
So, once you’ve focused your efforts on the couple, their family, and closest friends, the next step is to get the other guests involved.
Large group photos make an excellent addition to your portfolio and are something your clients can look back fondly on.
Tip #34: Manage Your Time
Here’s a good motto: You should always have time to spare during a photoshoot.
While this can’t always literally be true, this is the mindset you want to have each time you do wedding photography.
Always think ahead so that you can stay ahead.
If you’re running behind, it means you didn’t plan properly, which isn’t the end of the world. It’s just something to practice.
A disorganized photographer misses important moments, so become a super organizer and an expert at time management.
Tip #35: Get To Know The Guests
Imagine getting a photo of relatives who are seeing each other for the first time in 20 years.
Finding a moment like this at the wedding or the reception is an example of excellent photography in action.
But there is only one way you’re going to spotlight touching moments of this caliber.
You have to get the know the guests.
Any information you can gather (who they are and how they relate to the newlyweds and to each other) will enhance the photo experience you provide.
Tip #36: Be Discreet When Taking Pictures of People Who Are Eating
Don’t take pictures of people eating. This is sort of an unspoken rule.
It doesn’t mean that you shouldn’t tuck your camera away every time someone has a plate in front of them at the wedding reception, however.
The key here is knowing how to manage such moments.
Wait until your subjects are at their best, and avoid taking photos of people who are in the middle of chewing.
Tip #37: Don’t Obsess Over Every Photo You take
This is a big one for us perfectionists!
Don’t hyper-analyze every photo you take since this will distract you from what’s going on and cause you to miss opportunities.
Do the best you can, check your photos quickly, then move on. You can focus on enhancing the photos after the fact.
Also, don’t delete your photos prematurely. Only delete photos that you definitely can’t use.
Otherwise, save them for when you have a chance to sit down and comb through them.
Tip #38: Watch Out For Light Reflected On Glass
When doing wedding photography, you’re bound to run into numerous situations where glass is involved.
Not being able to do photos in which your subject is in front of or behind a glass surface is a BIG issue.
This is something all wedding photographers have to learn how to manage!
Cross-polarization works well for eliminating unwanted reflections on glass. If you haven’t heard of it, look it up.
You’ll want to use a circular polarizer on the lens and a linear polarizer gel on the flash.
Tip #39: Bring The Story To Life
While there are many technical considerations to bear in mind when doing wedding photography, you also want to remember your inner artist.
Let all the technical stuff be in service of the client’s big day, their feelings, and the story behind their love.
Three Photo Technique
If you need a technique to capture a story and bring it to life, try taking at least three photos per concept that you are trying to illustrate.
For example, you can 1) take a distant shot of the wedding cake, 2) a candid photo of the newlyweds cutting the cake, and 3) a close-up of the guests’ reactions to what is going on.
This is just an example. What we’re saying here is…focus on weaving a narrative with your photos so that they have continuity and an underlying theme and feeling.
Tip #40: Adjust Your Settings To Photograph Confetti
Most weddings are going to have confetti thrown at some point, and you’ll want to be ready for it.
To get great photos of confetti, use a shutter speed of around 1/200 and also use a lower lens aperture—f/2.8 is good.
When the newlyweds exit the church, pay attention to the direction the wind is blowing since it’s going to determine your positioning as well as the way your subjects should be arranged.
It’ll be up to you to get everyone in the proper position before the couple comes out.
Tip #41: Take Photos In RAW Format If You Can
If possible, always shoot in RAW format for your wedding photography, ESPECIALLY during the ceremony.
However:
JPEGs are better if you need to prioritize speed and might be your best option at the wedding reception.
RAWs give you more to work with, but they require more time and effort. They are larger in size and take longer to write on the card.
You’ll have to get a big memory card if you plan on only taking RAWs.
Tip #42: Try Underexposing Your Photos When Necessary
When photographing a bride in a white dress in direct sunlight, try underexposing the shot by -1 EV.
You can correct the underexposure (if it’s an issue) on your computer later when shooting in RAW format.
The dynamic range of modern digital cameras is very wide, meaning there are always ways to overcome difficult lighting.
Tip #43: Turn Off The Beeps On your Camera
To keep your camera from making too much noise during the wedding ceremony, look through the manual to find out how to turn off beeping for focusing, shutter, self-timer, etc.
You want to be as discreet as possible when the couple is making their vows.
Tip #44: Use A Flash Diffuser
Flash diffusers are a godsend that help even out contrast, soften shadows, and create a more appealing look for your wedding photography subjects.
We recommend practicing with a flash diffuser if you haven’t before.
A large-area diffuser attached to the head of the flash works well for a variety of photo genres, not just wedding photography.
Tip #45: As A General Rule, Turn Off Effects
A lot of modern digital cameras nowadays have special effects that try to mimic special lens filters. You can find these features hidden in some menus.
While you don’t want to avoid using every camera effect, as a general rule, you want to avoid getting too out in left field during your wedding photography sessions.
Leave Most Effects For Post-Production
If you want to give the final products an effect of some kind, use RAW format and then apply the desired effects during post-processing.
If you apply effects to JPEG while you are in the middle of your wedding sessions, you limit your flexibility and potentially create a look that you don’t want.
Tip #46: Watch Out For Wide-Angle Lenses In Large Group Photos
You might hear people advise you to use wide-angle lenses for large group photos.
But this can cause distortion on the edges of the frame, so you’ll want to be careful about this.
Try finding an alternative to a very wide angle lens unless the wedding venue leaves you no other choice.
NOTE: We don’t want you to think wide angle lenses are bad. They do have their uses. But they need to be used correctly.
One pro of wide angle lenses is that they work well when photographing buildings.
Tip #47: Use Auto Exposure Locking
We suggest practicing with the auto exposure lock feature on your camera, which you activate by pressing the AE-L key or pressing the shutter button halfway.
Mastering your camera’s auto exposure lock helps you improve the quality of the subject in the image.
This is particularly true if you are using RAW format.
Start Simple With AE-L
The beginning practice is very straightforward. Aim your camera at the subject or scene that you want to be well-exposed, and press exposure lock.
You can then recompose and take your photo.
If needed, you can enhance the rest of the image in post-production when using RAW format.
Tip #48: Use A Reflector
Consider using a reflector, if not for your wedding photography, then as a general practice.
They’re reasonably cheap, and they help when you only have a single directional source of light but your photo
requires more than that.
Reflectors are good for reducing shadows and harsh glares.
Tip #49: Be Scrutinizing Once You Go Home
Once you’ve finished your wedding photography session, you still have to go home and spruce up your final product.
When sorting through your photos, be discerning with how much you touch up photos.
There is no one-size-fits-all piece of advice here on the best way to go about this.
Just concentrate on telling a story and bringing the emotions of your subjects to life.
Tip #50: Keep Practicing
Wedding photography is a journey with ups and downs, accomplishments and setbacks. The key to success is being consistent and reliable, always learning new things, and never giving up.
Contact Us To Learn More About Our Wedding Photography Sessions


